From Rocks to Gems to Jewelry -
Crafting Timeless Elegance
Our Process
Finding
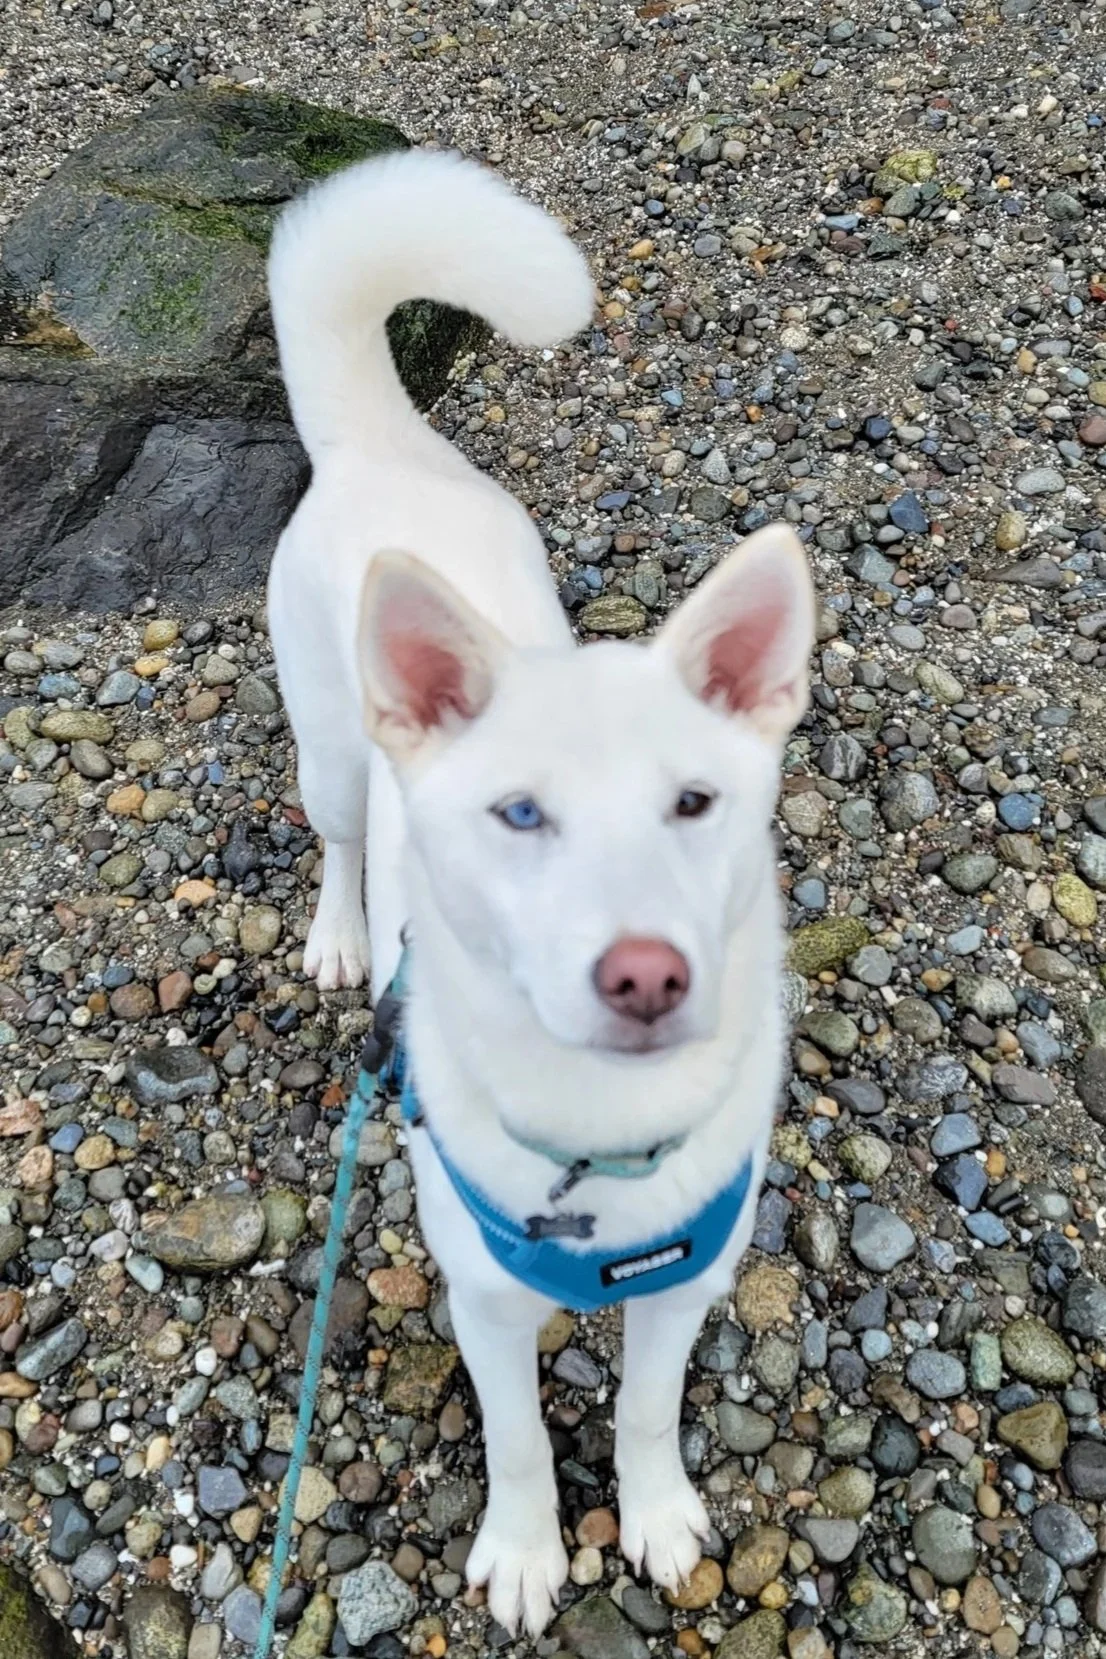
All of my cabochons are made out of material that I have personally (sometimes with the help of my dogs) found or mined. When I first started most of my cabochons were from rocks I found in local rivers, creeks and beaches.
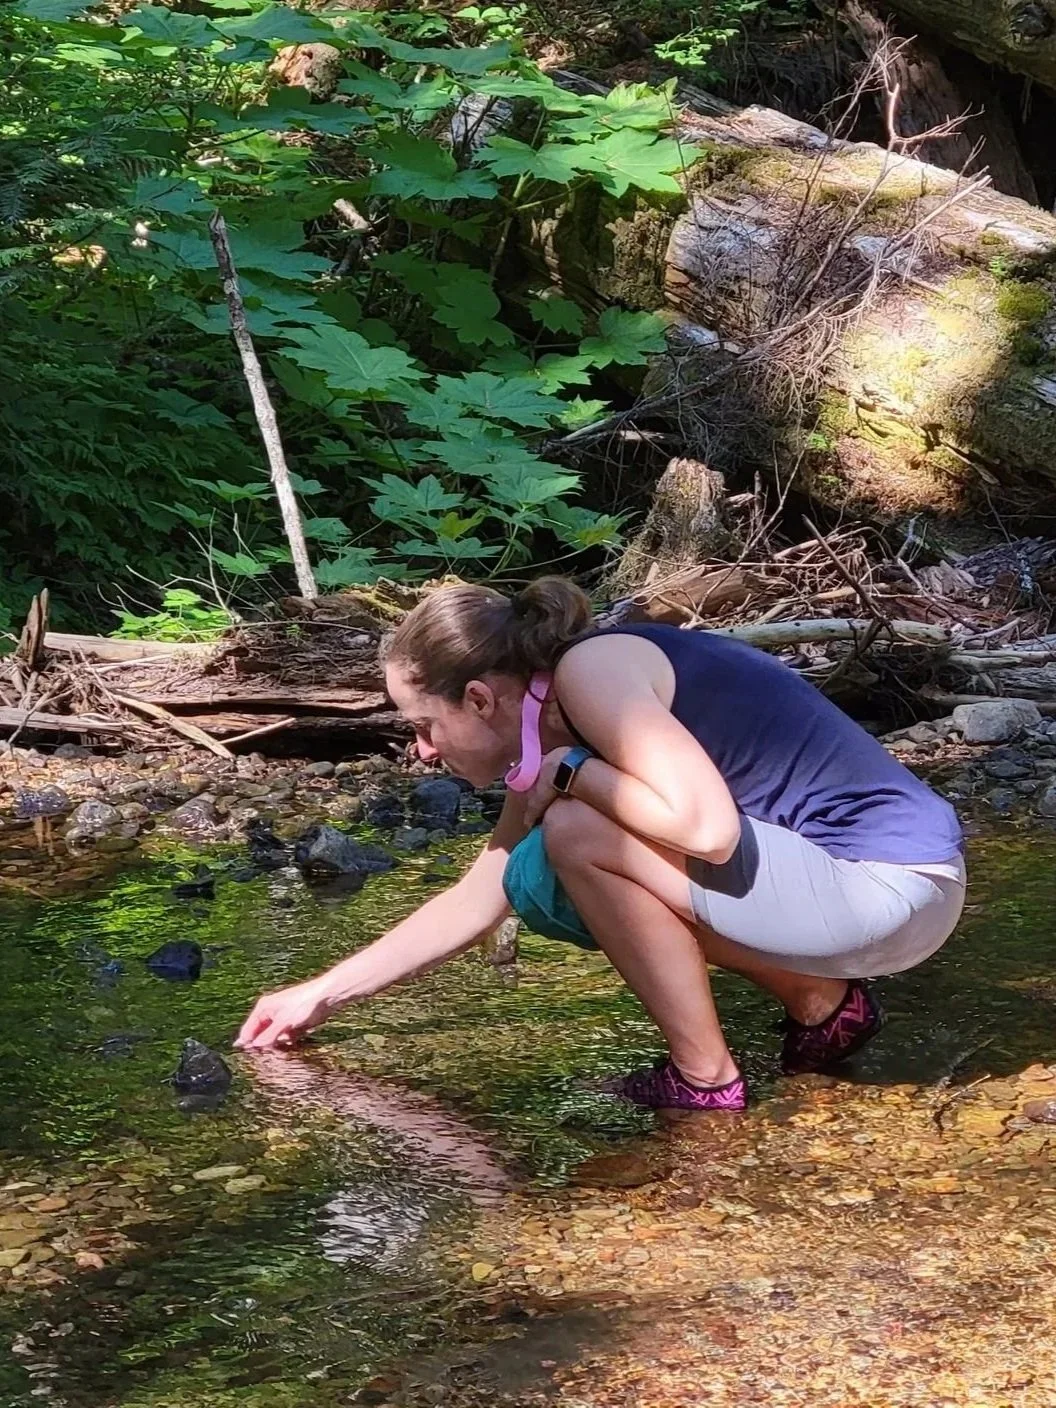
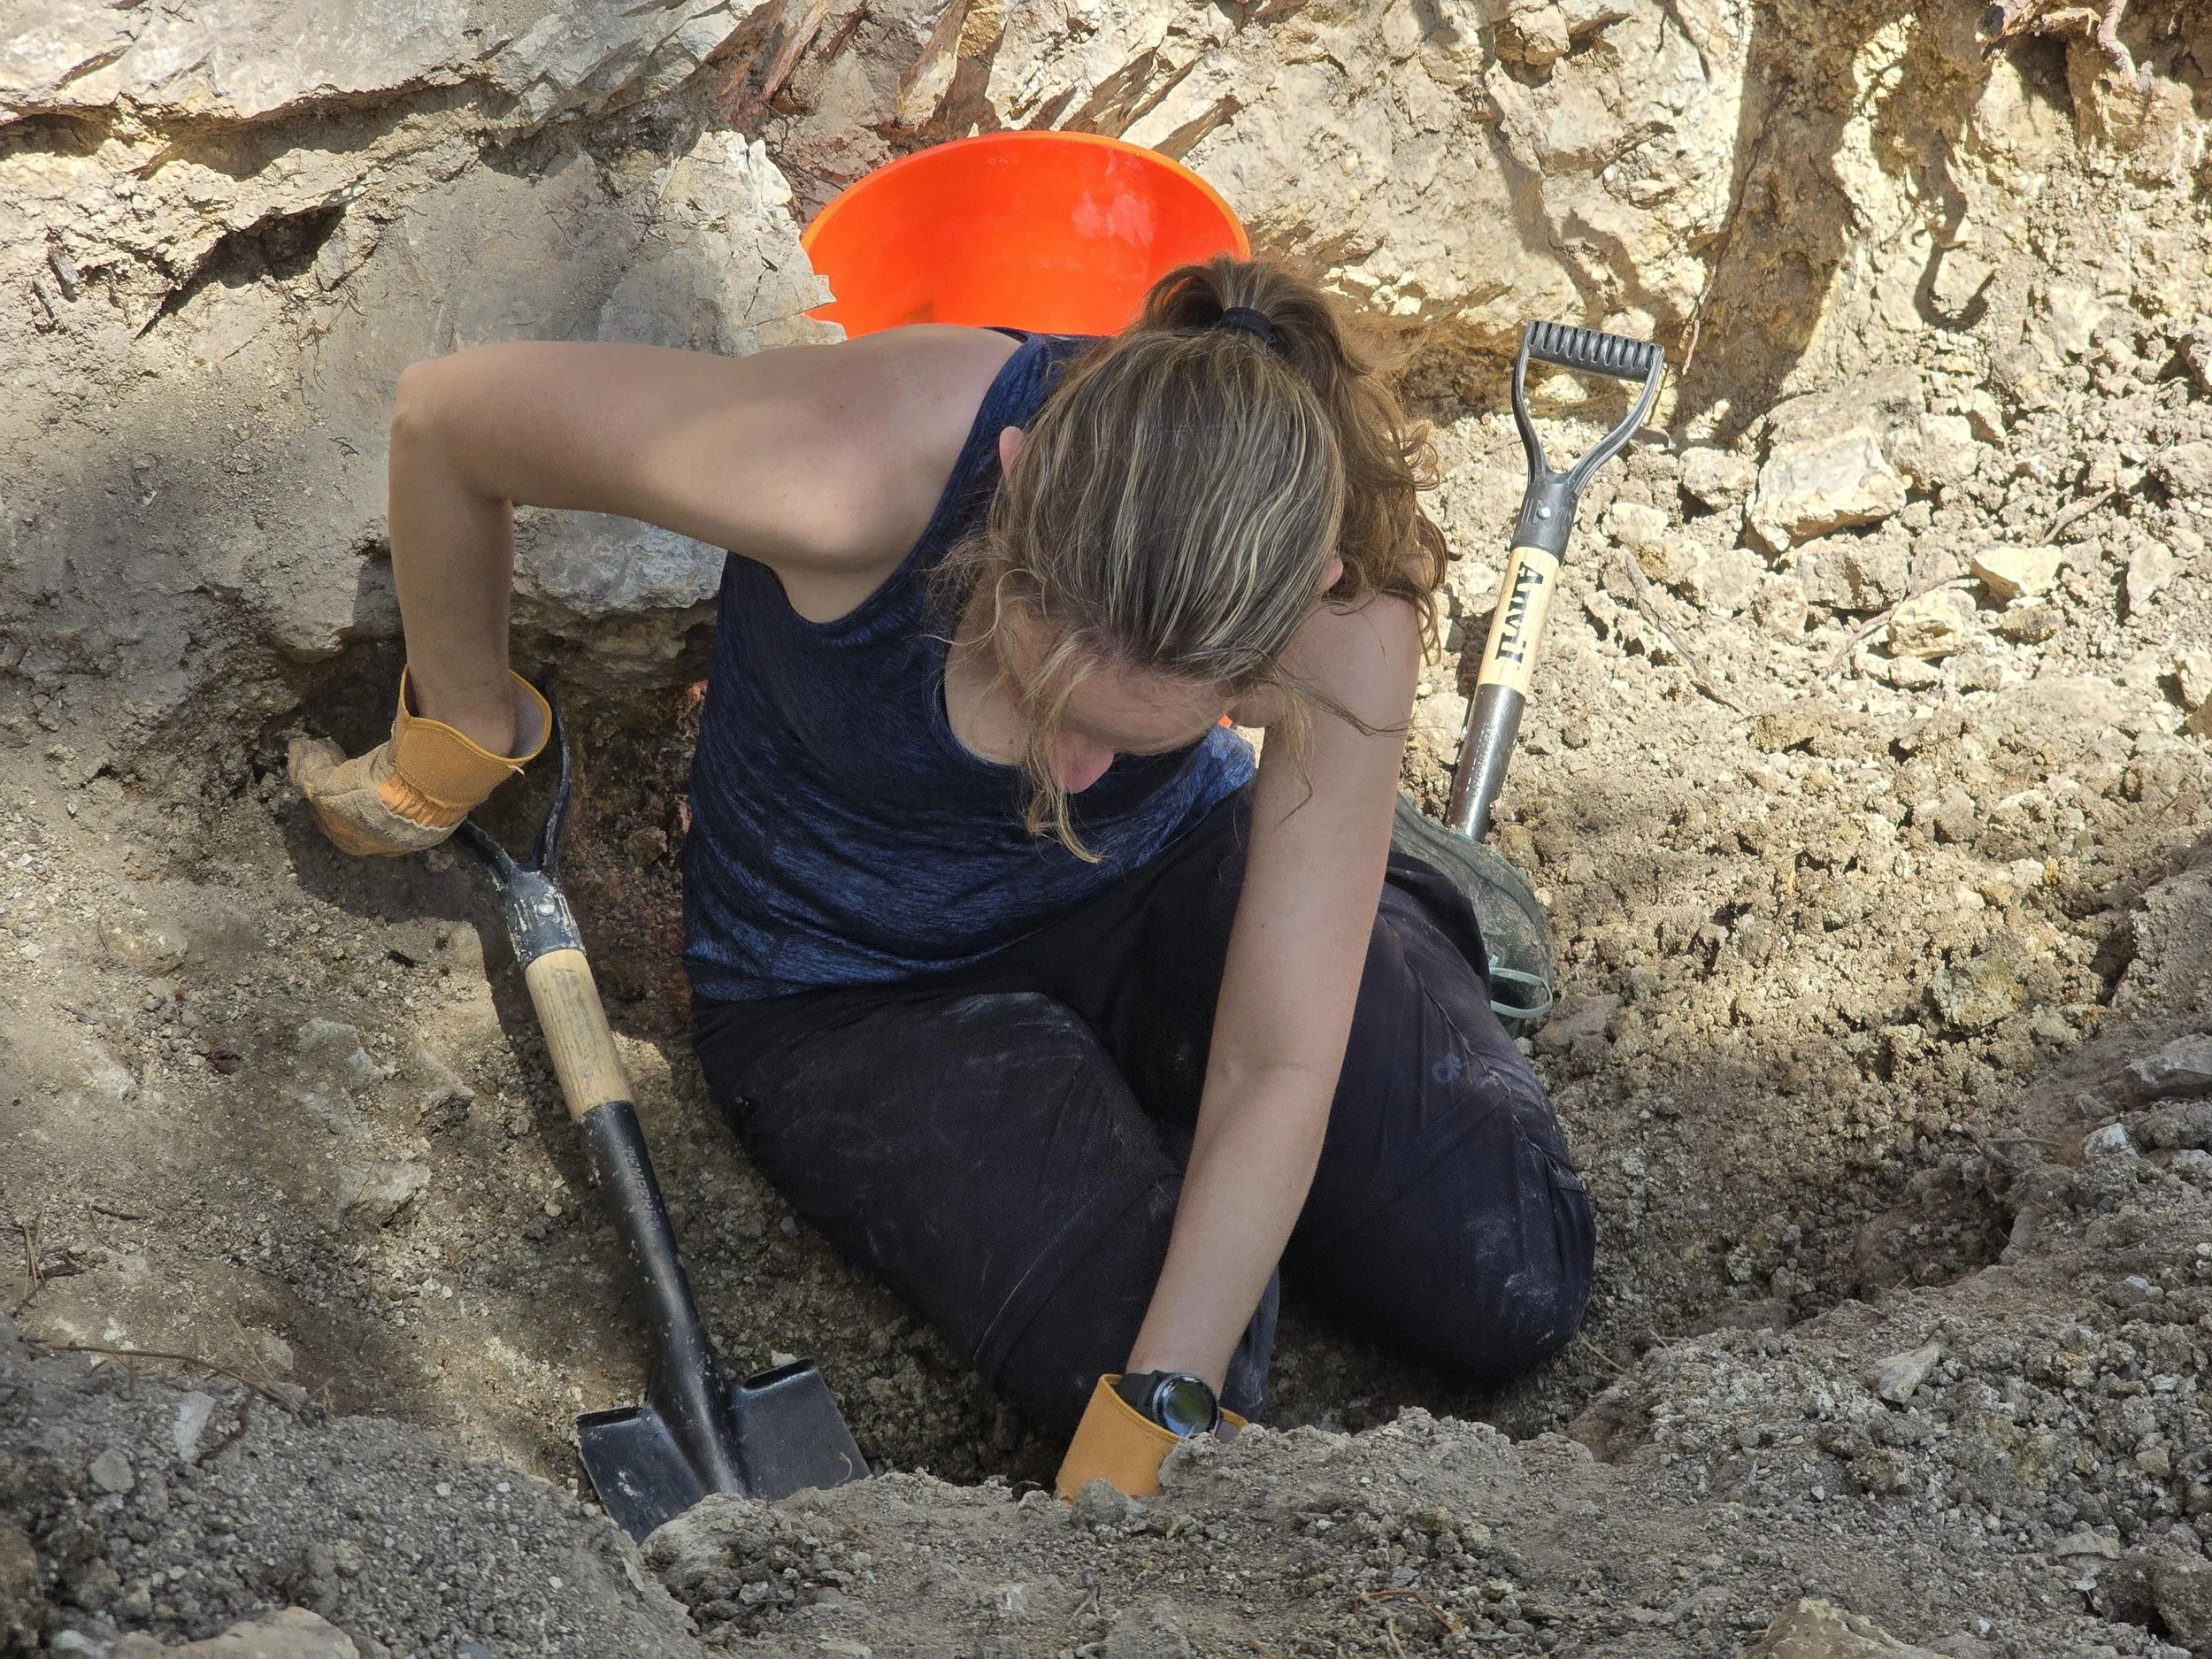
I eventually started digging for rocks in nearby mountains, and I started looking for rocks in the hills and deserts of Nevada and Wyoming when I would visit family. I also started going to mines open to the public (some free and some paid) to collect unique material, like noble serpentine and polka dot agate.
I have boxes and boxes of material that I have collected over the past 10 years, more than I will ever be able to process, but I can’t help but look for new and interesting material wherever I go.
Cutting
Some of the material I obtain is small enough and shaped in such a way, that I skip this step. However, most of the material I find requires me to cut it into smaller pieces in order to turn it into an appropriately sized cabochon.
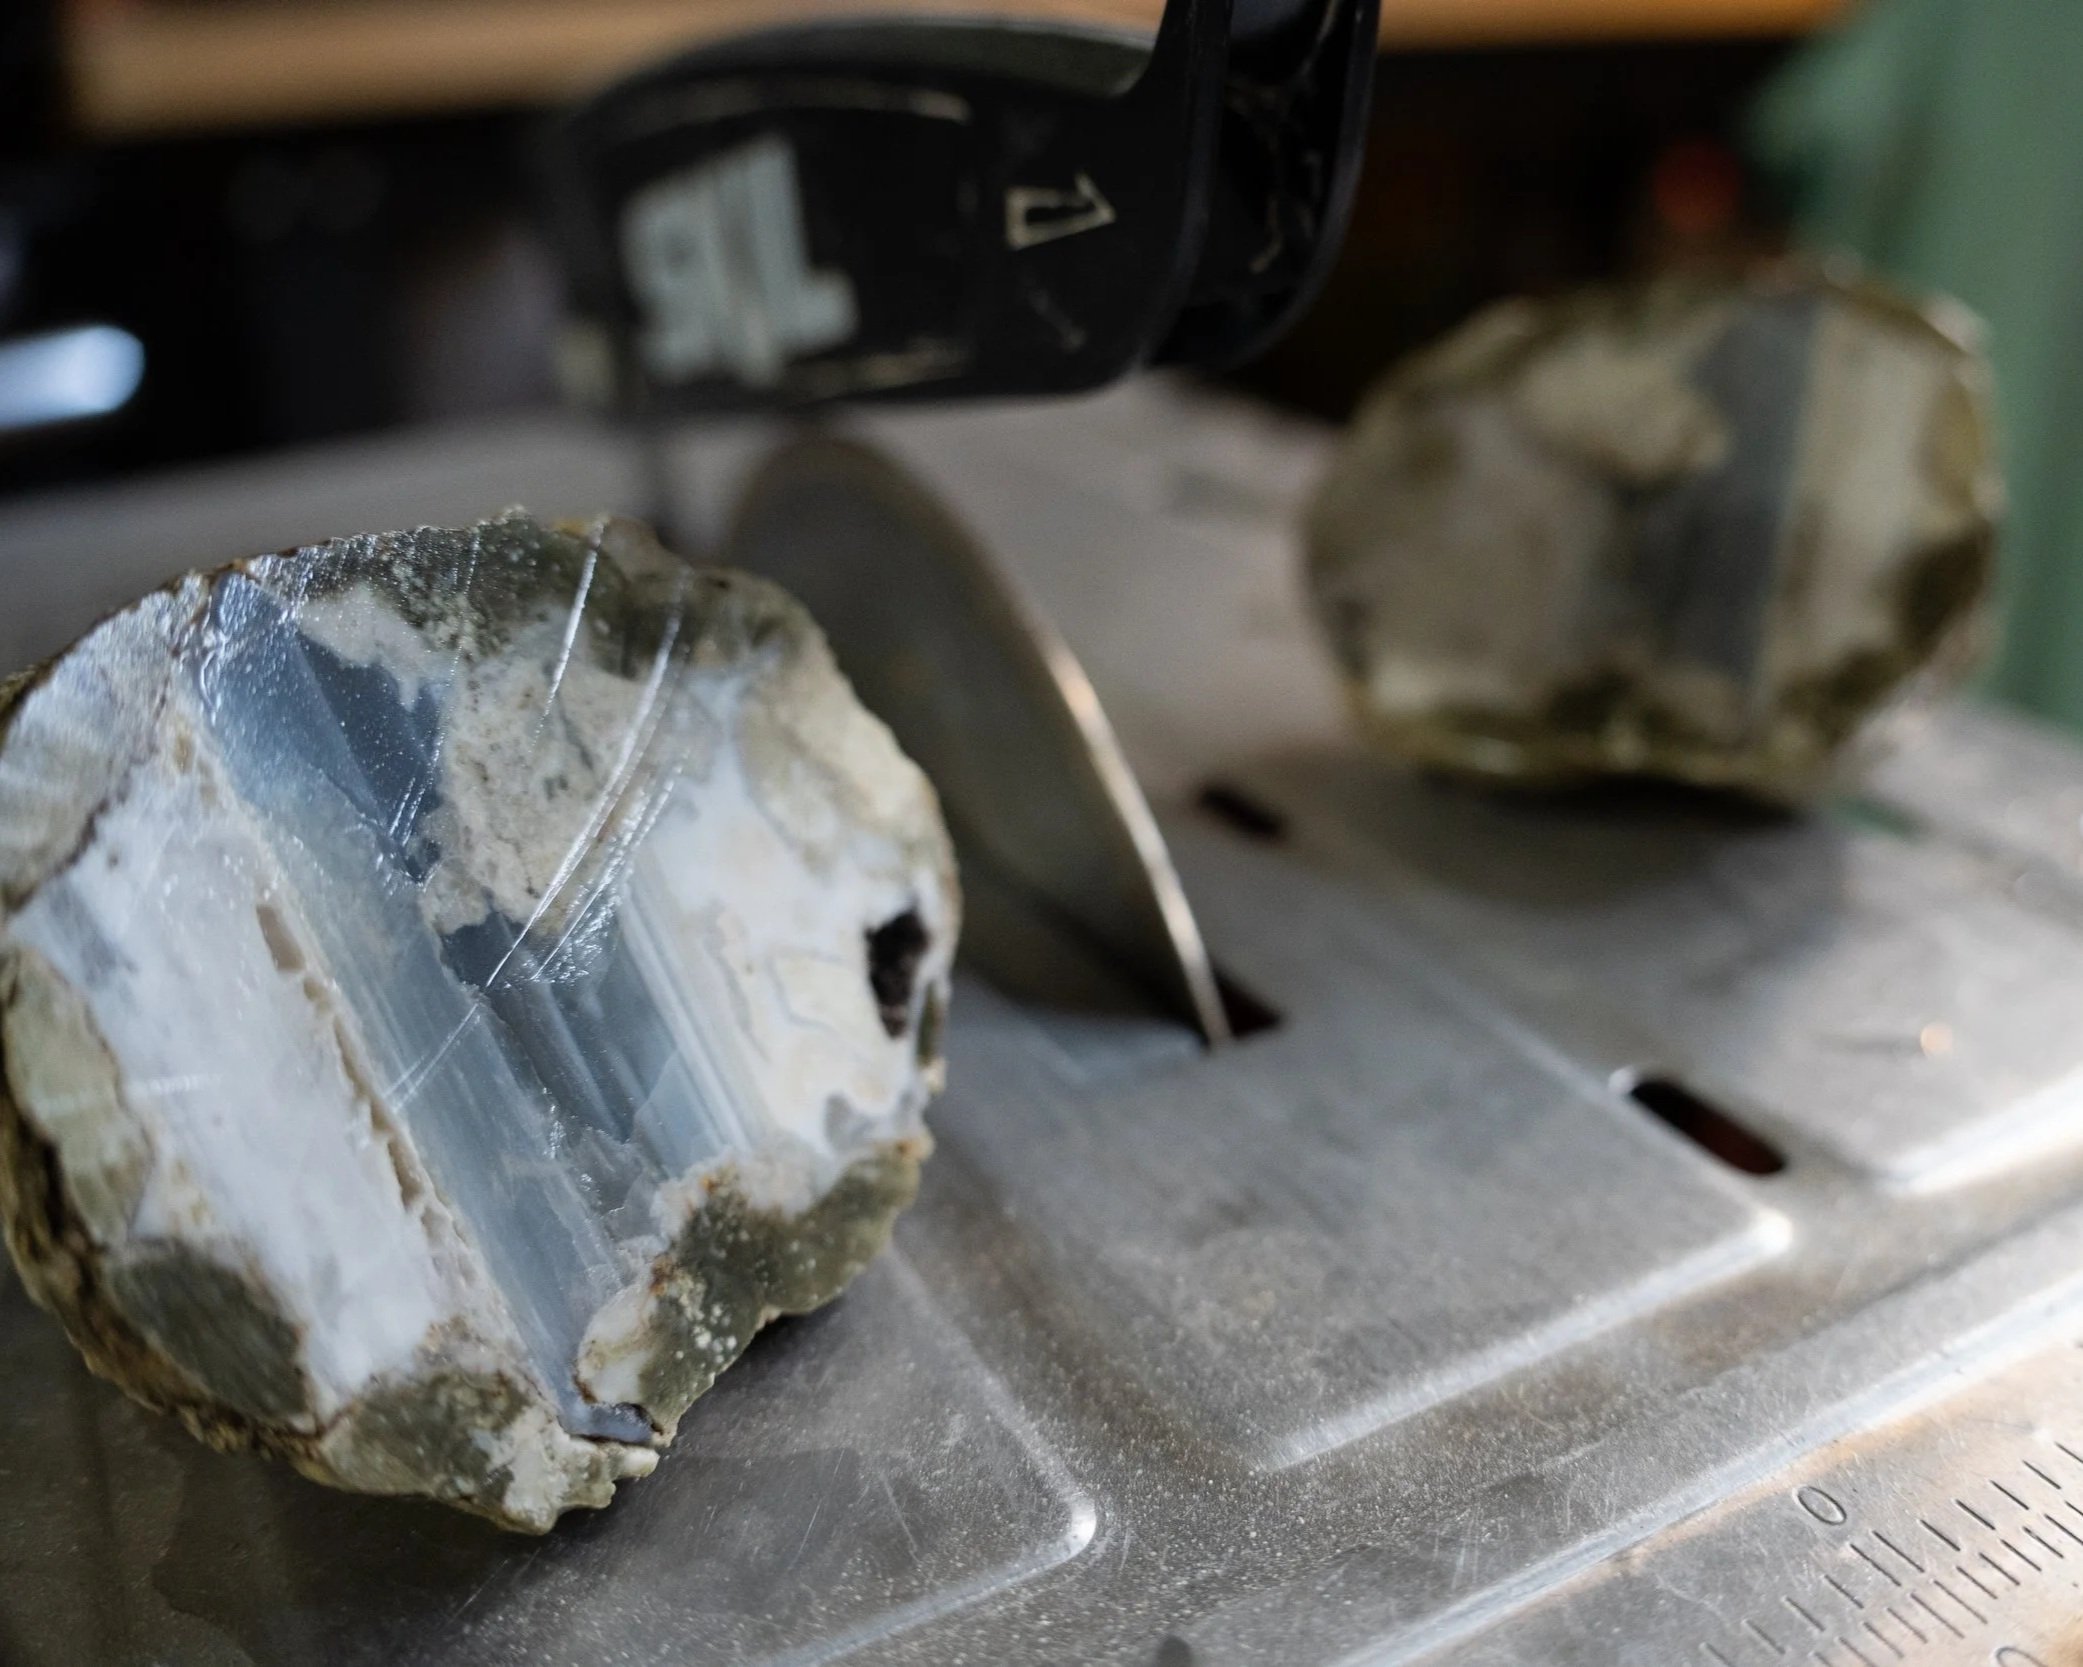
I have been using a tile saw, fitted with a special blade, to cut my material. I am able to cut most of the small to medium material, but for the larger material, I have to take it to a local rock shop and have them cut it into slabs it for me.
While some of the material I use is soft and easy to cut (like noble serpentine), some of the material is very hard and can take a while to cut (like agate and jade). I like to dedicate an entire day to cutting material, as it gets very messy and takes a lot of time and energy. Once I have the material cut down to the size I want, then I move on to shaping it.
Shaping
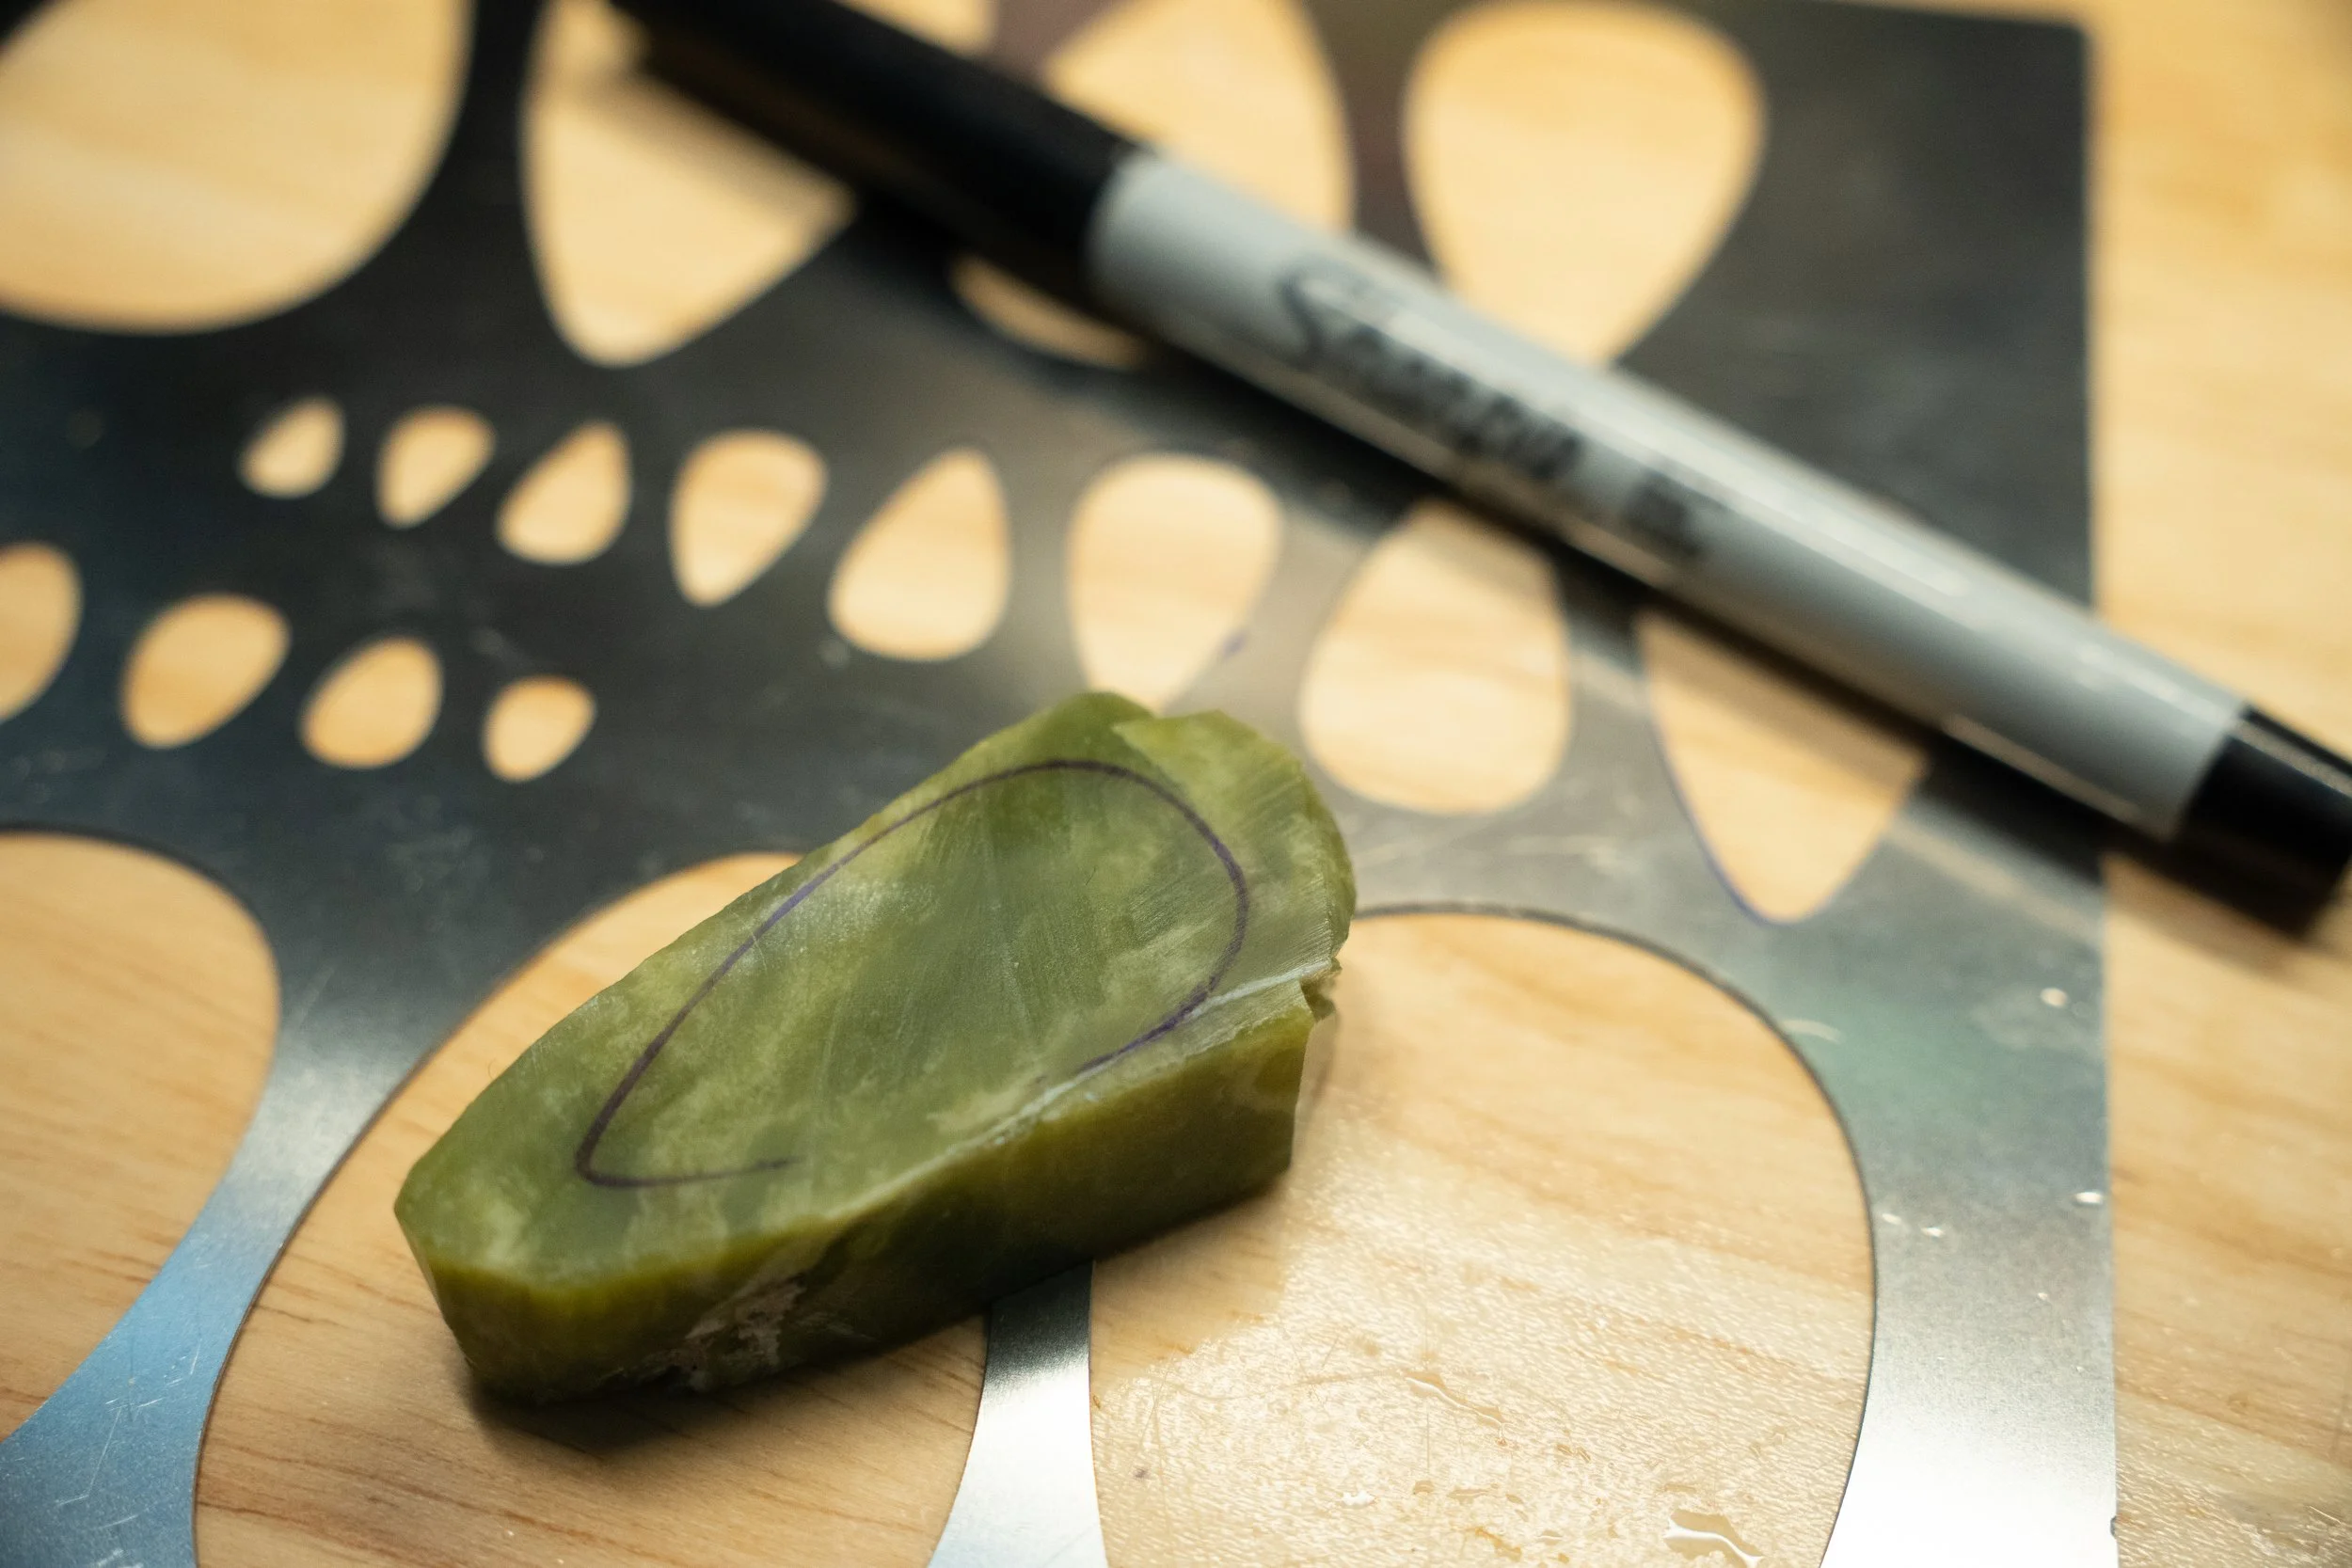
I use stencils for some of the material to outline the shape that I want. I also like to just “freehand it”, by just working with the material and finding a unique, organic shape that seems fitting.
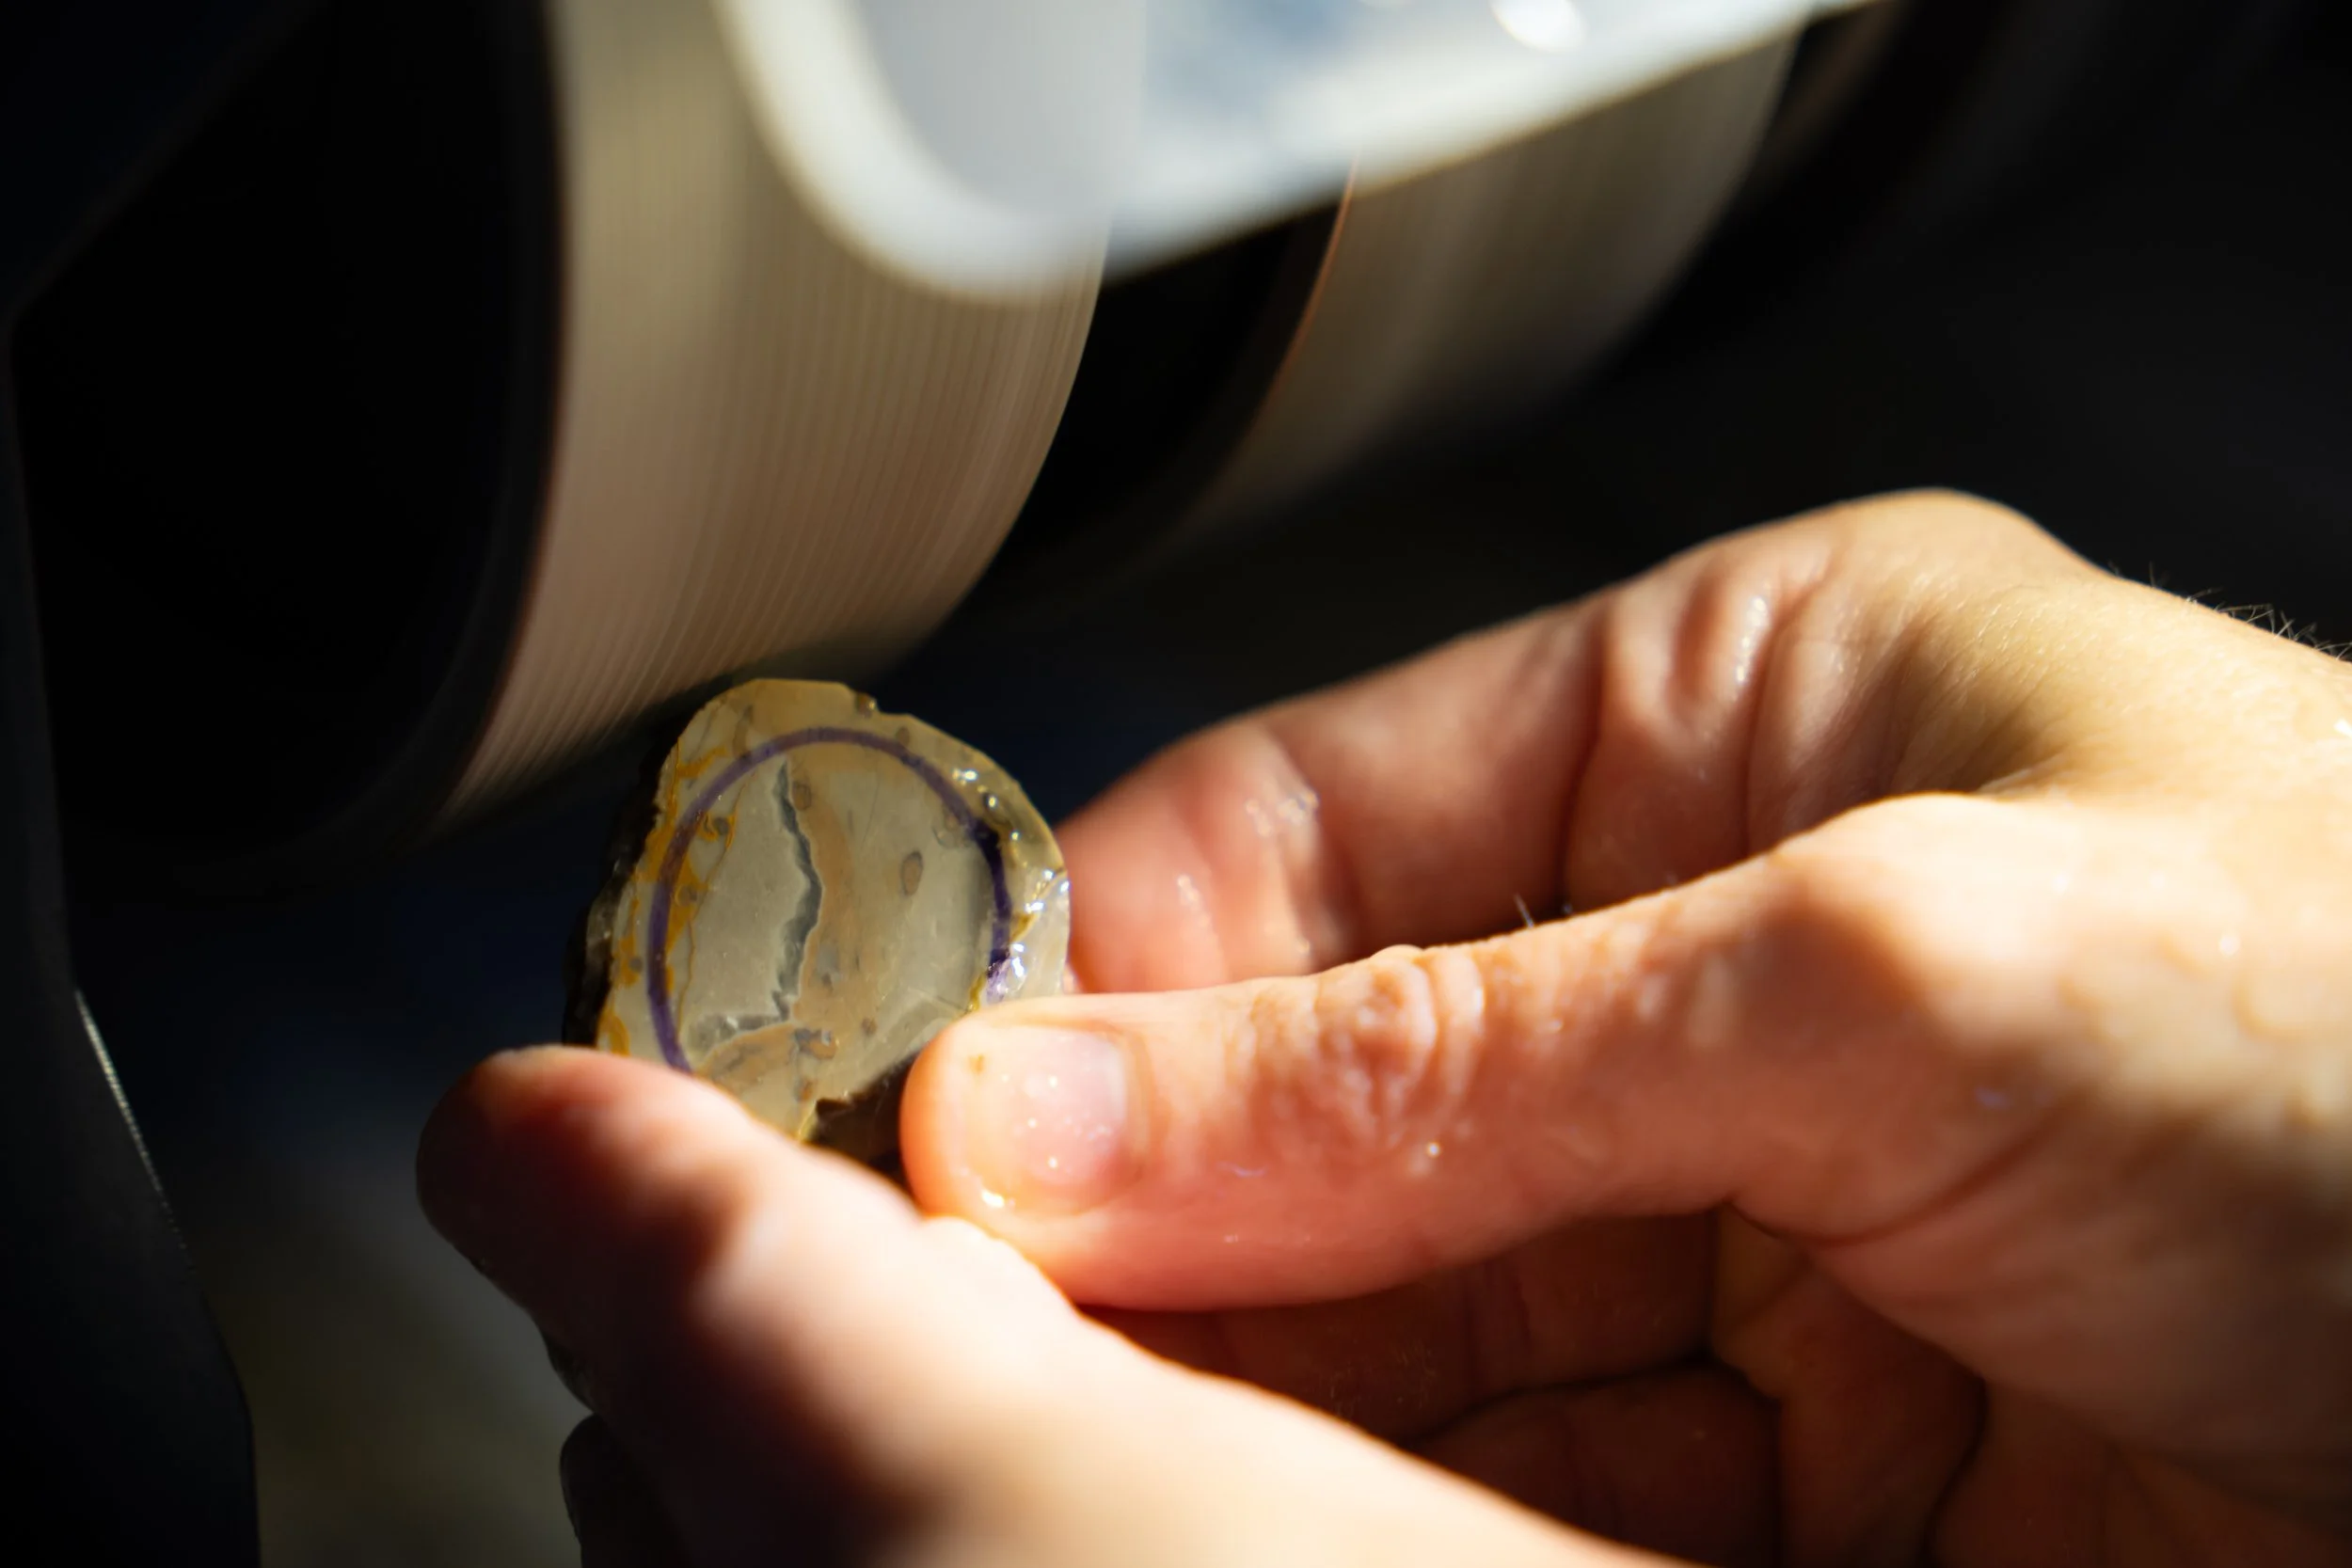
Once I have chosen my shape, I use my cab machine to grind the rock into that shape and dome the top. I have two wheels on my cab machine that help me do this.
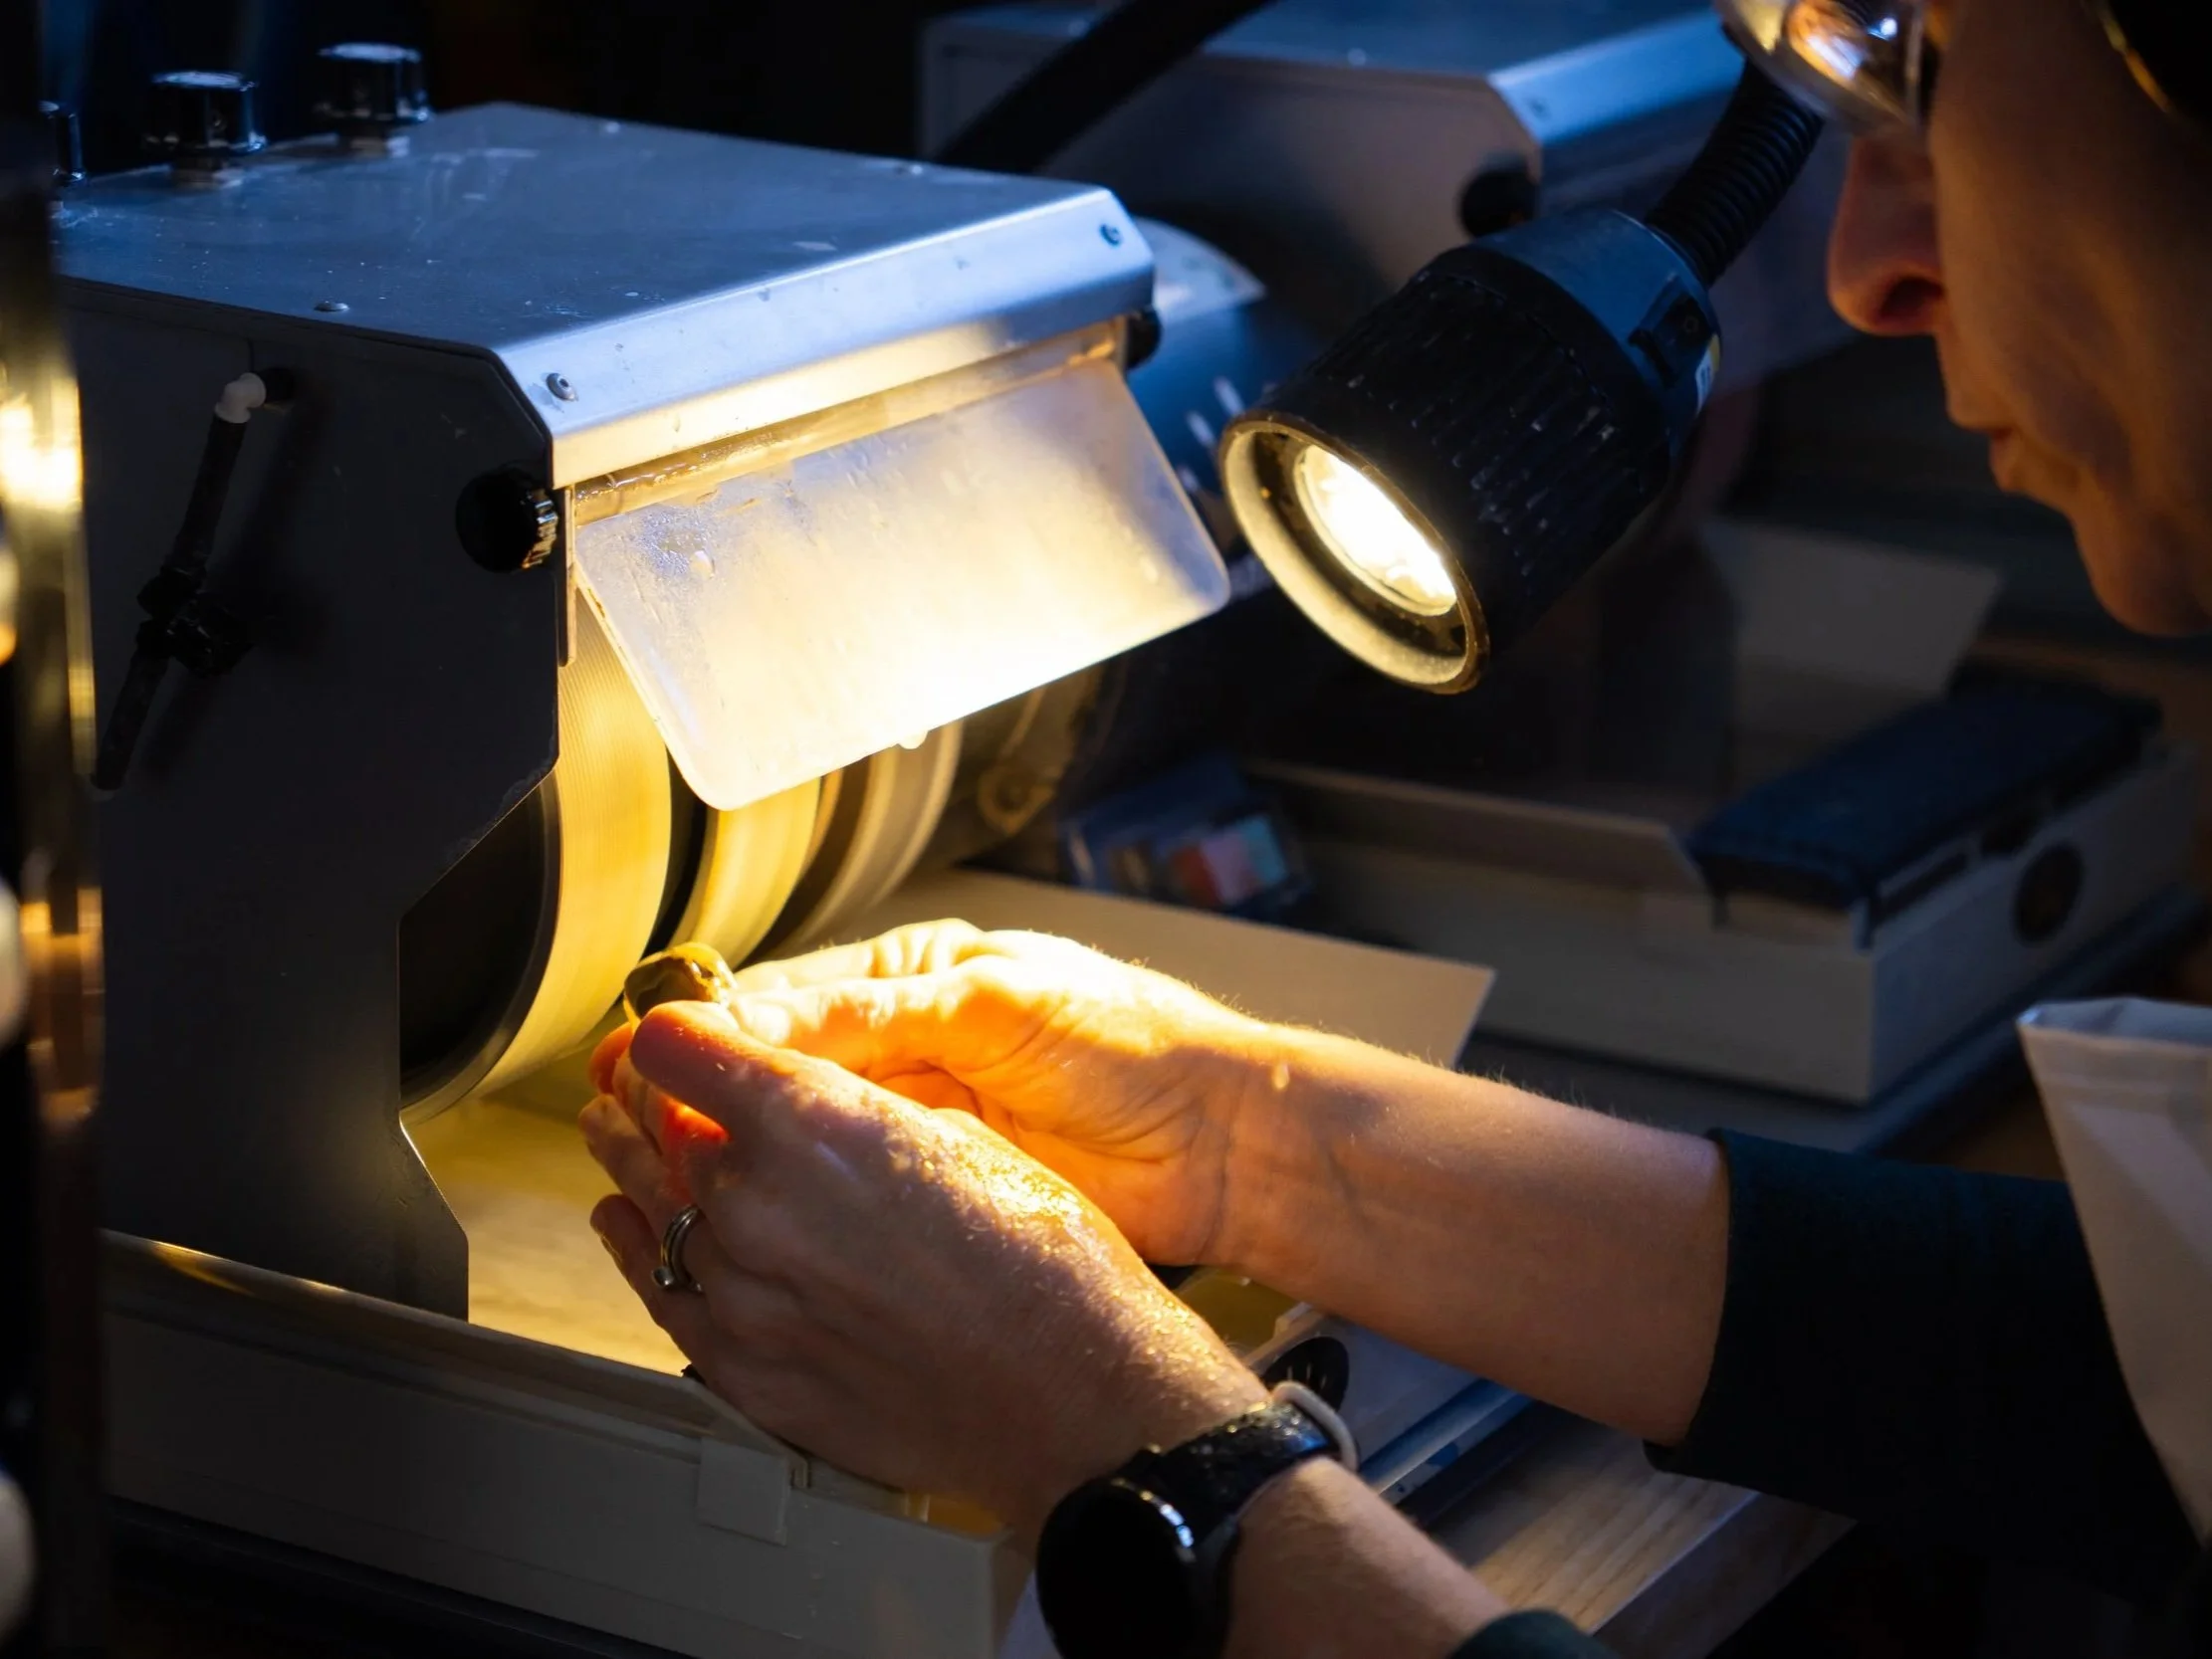
Sometimes during this process, the material will break or chip. When this happens, I have to either slightly alter the original shape or, if the material is too small, I simply toss it in my rock tumbler.
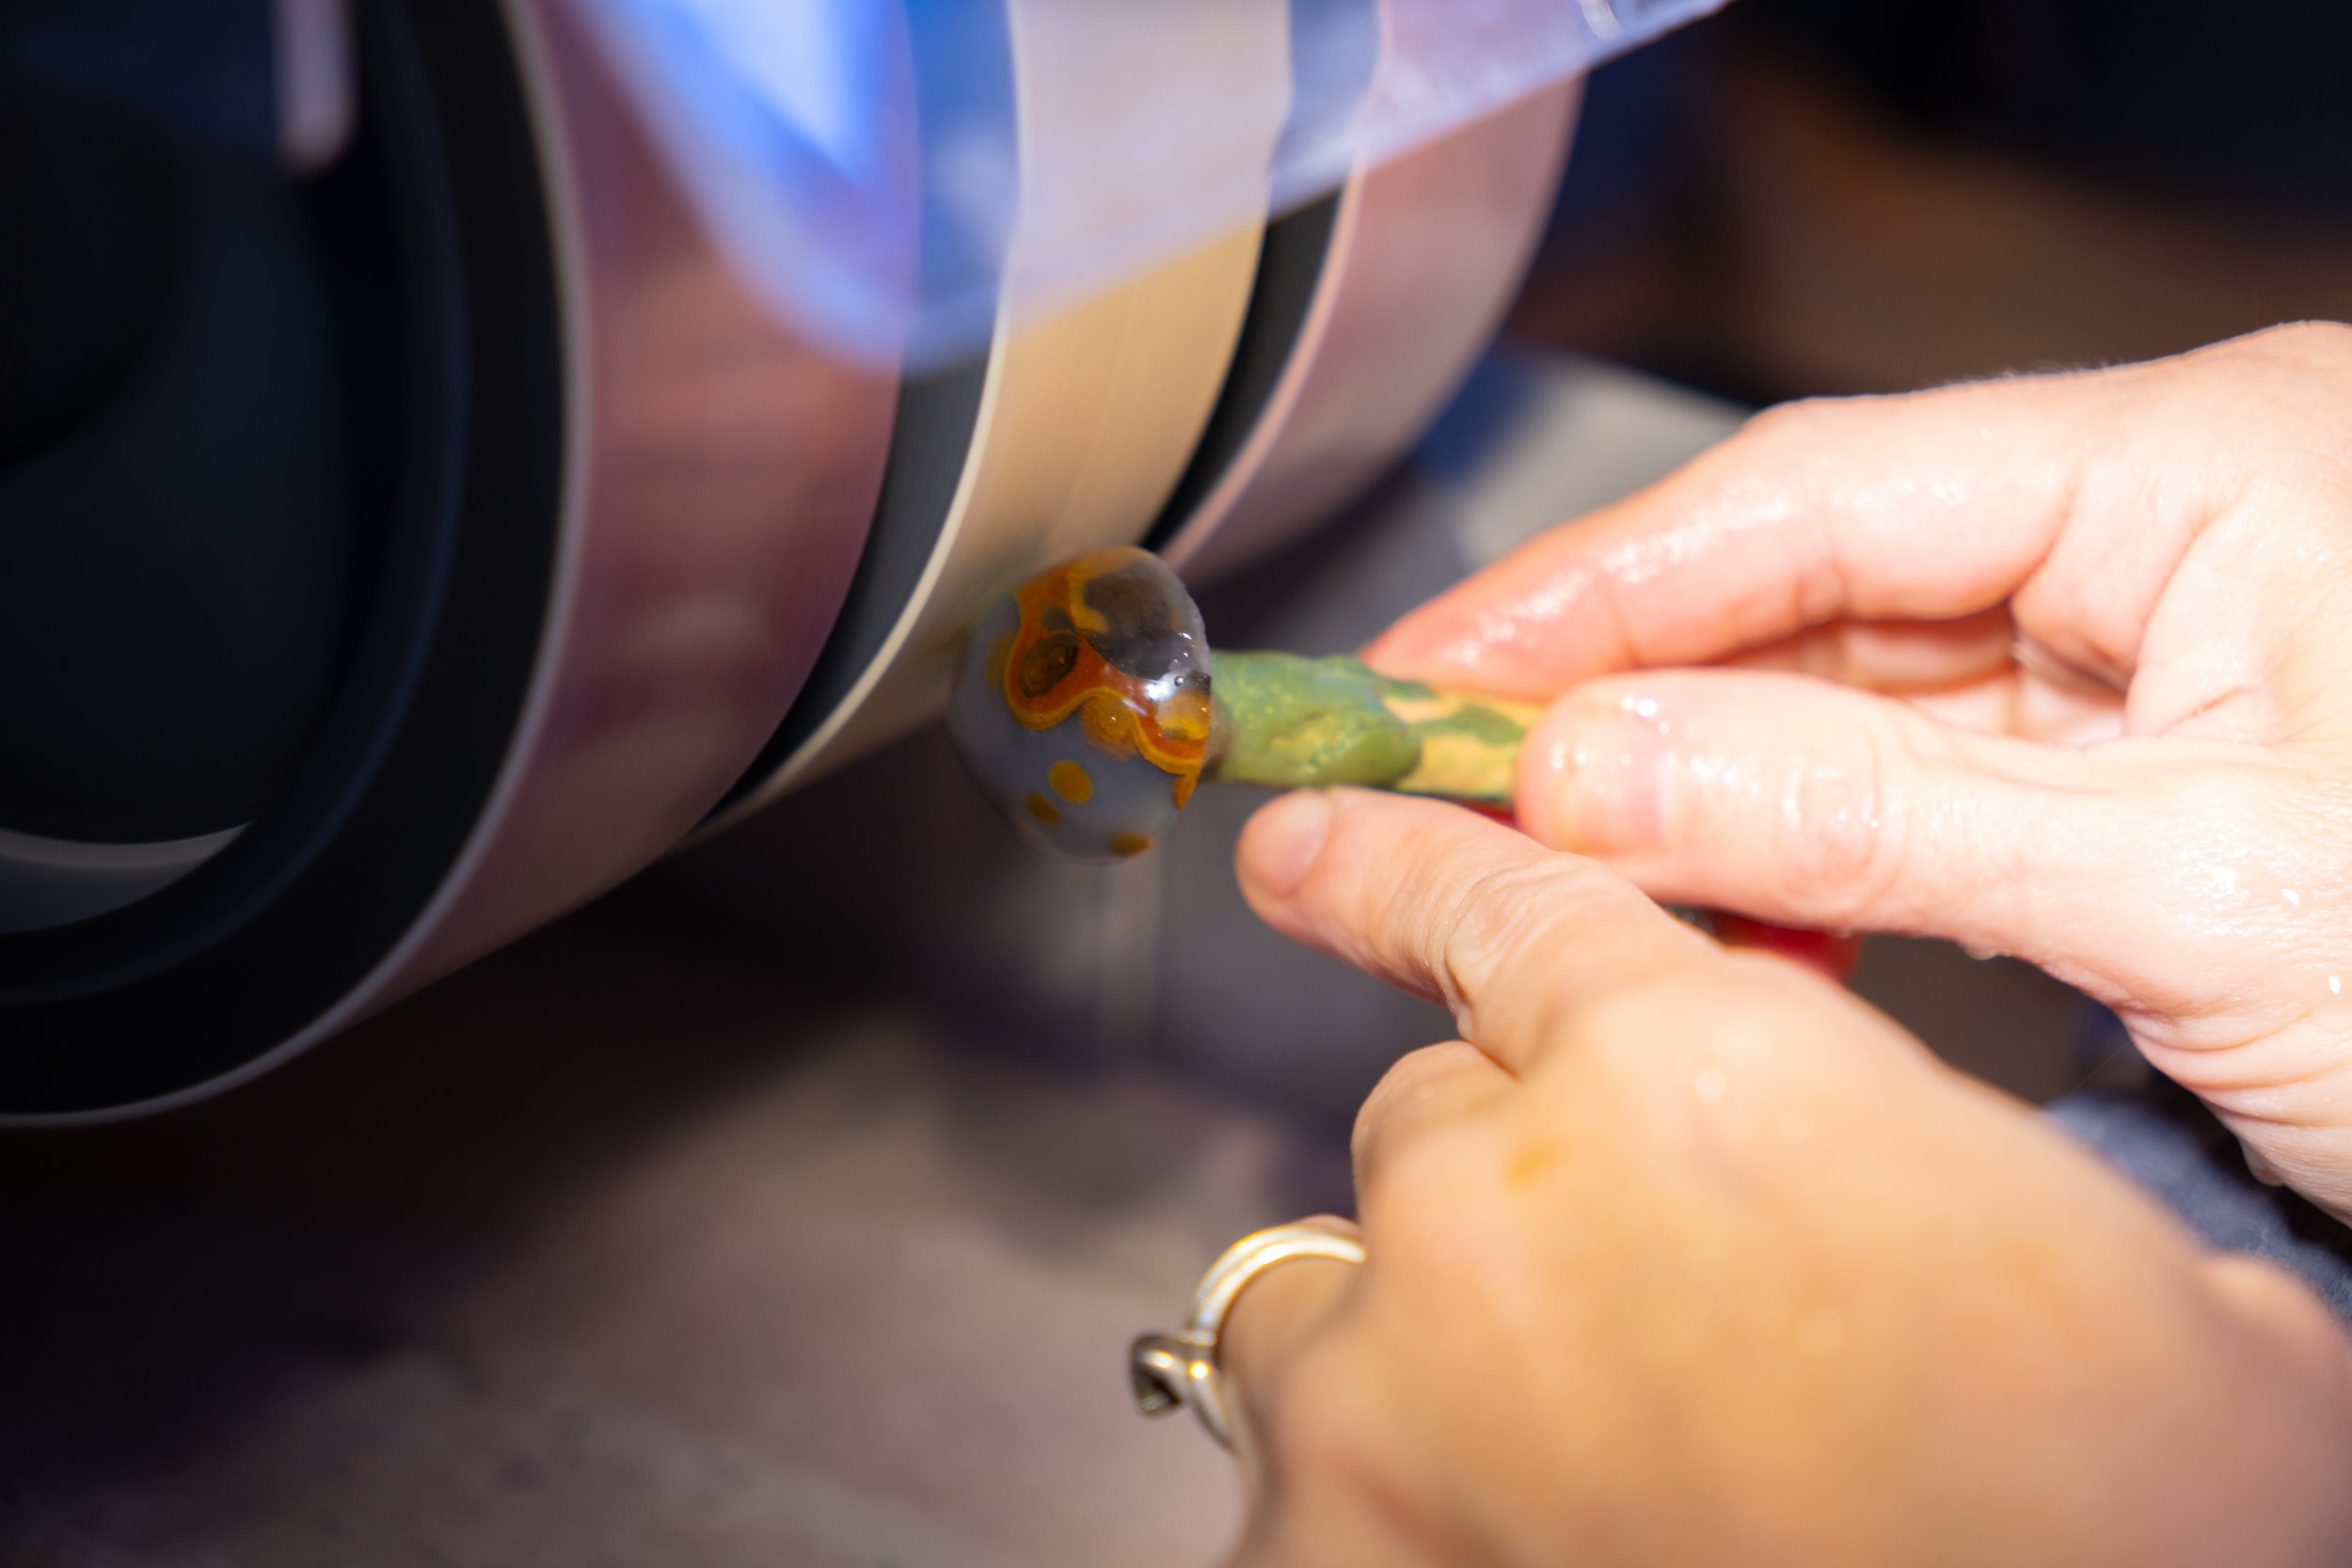
Once the material has been shaped and the top has been domed, I move on to the next step, polishing.
Polishing
Using the remaining four wheels on my cab machine, I polish the shaped cabochon. With each wheel the cabochon becomes smoother and shinier. I have to spend a decent amount of time at each wheel in order to remove all the scratches from the prior wheel.
Sometimes I discover a scratch that I missed and I have to move back a wheel or two, before I can continue on.
Once I have gone through all the wheels the cabochon looks pretty good, but in order to get that last bit of extra shine, I run the cabochon over a spinning canvas pad coated with cerium oxide. Then I wash the cabochon and I’m ready to turn it into jewelry.
Designing
First, I have to decide whether I want to wire wrap the cabochon, create a custom metal piece for the cabochon, or use a pre-formed setting. I rarely use pre-formed settings, as they do not always line up with the cabochon precisely and can end up looking a little out of place.
If I decide to wire wrap the stone, then I will draw up a sketch of how I want the finished piece to look.
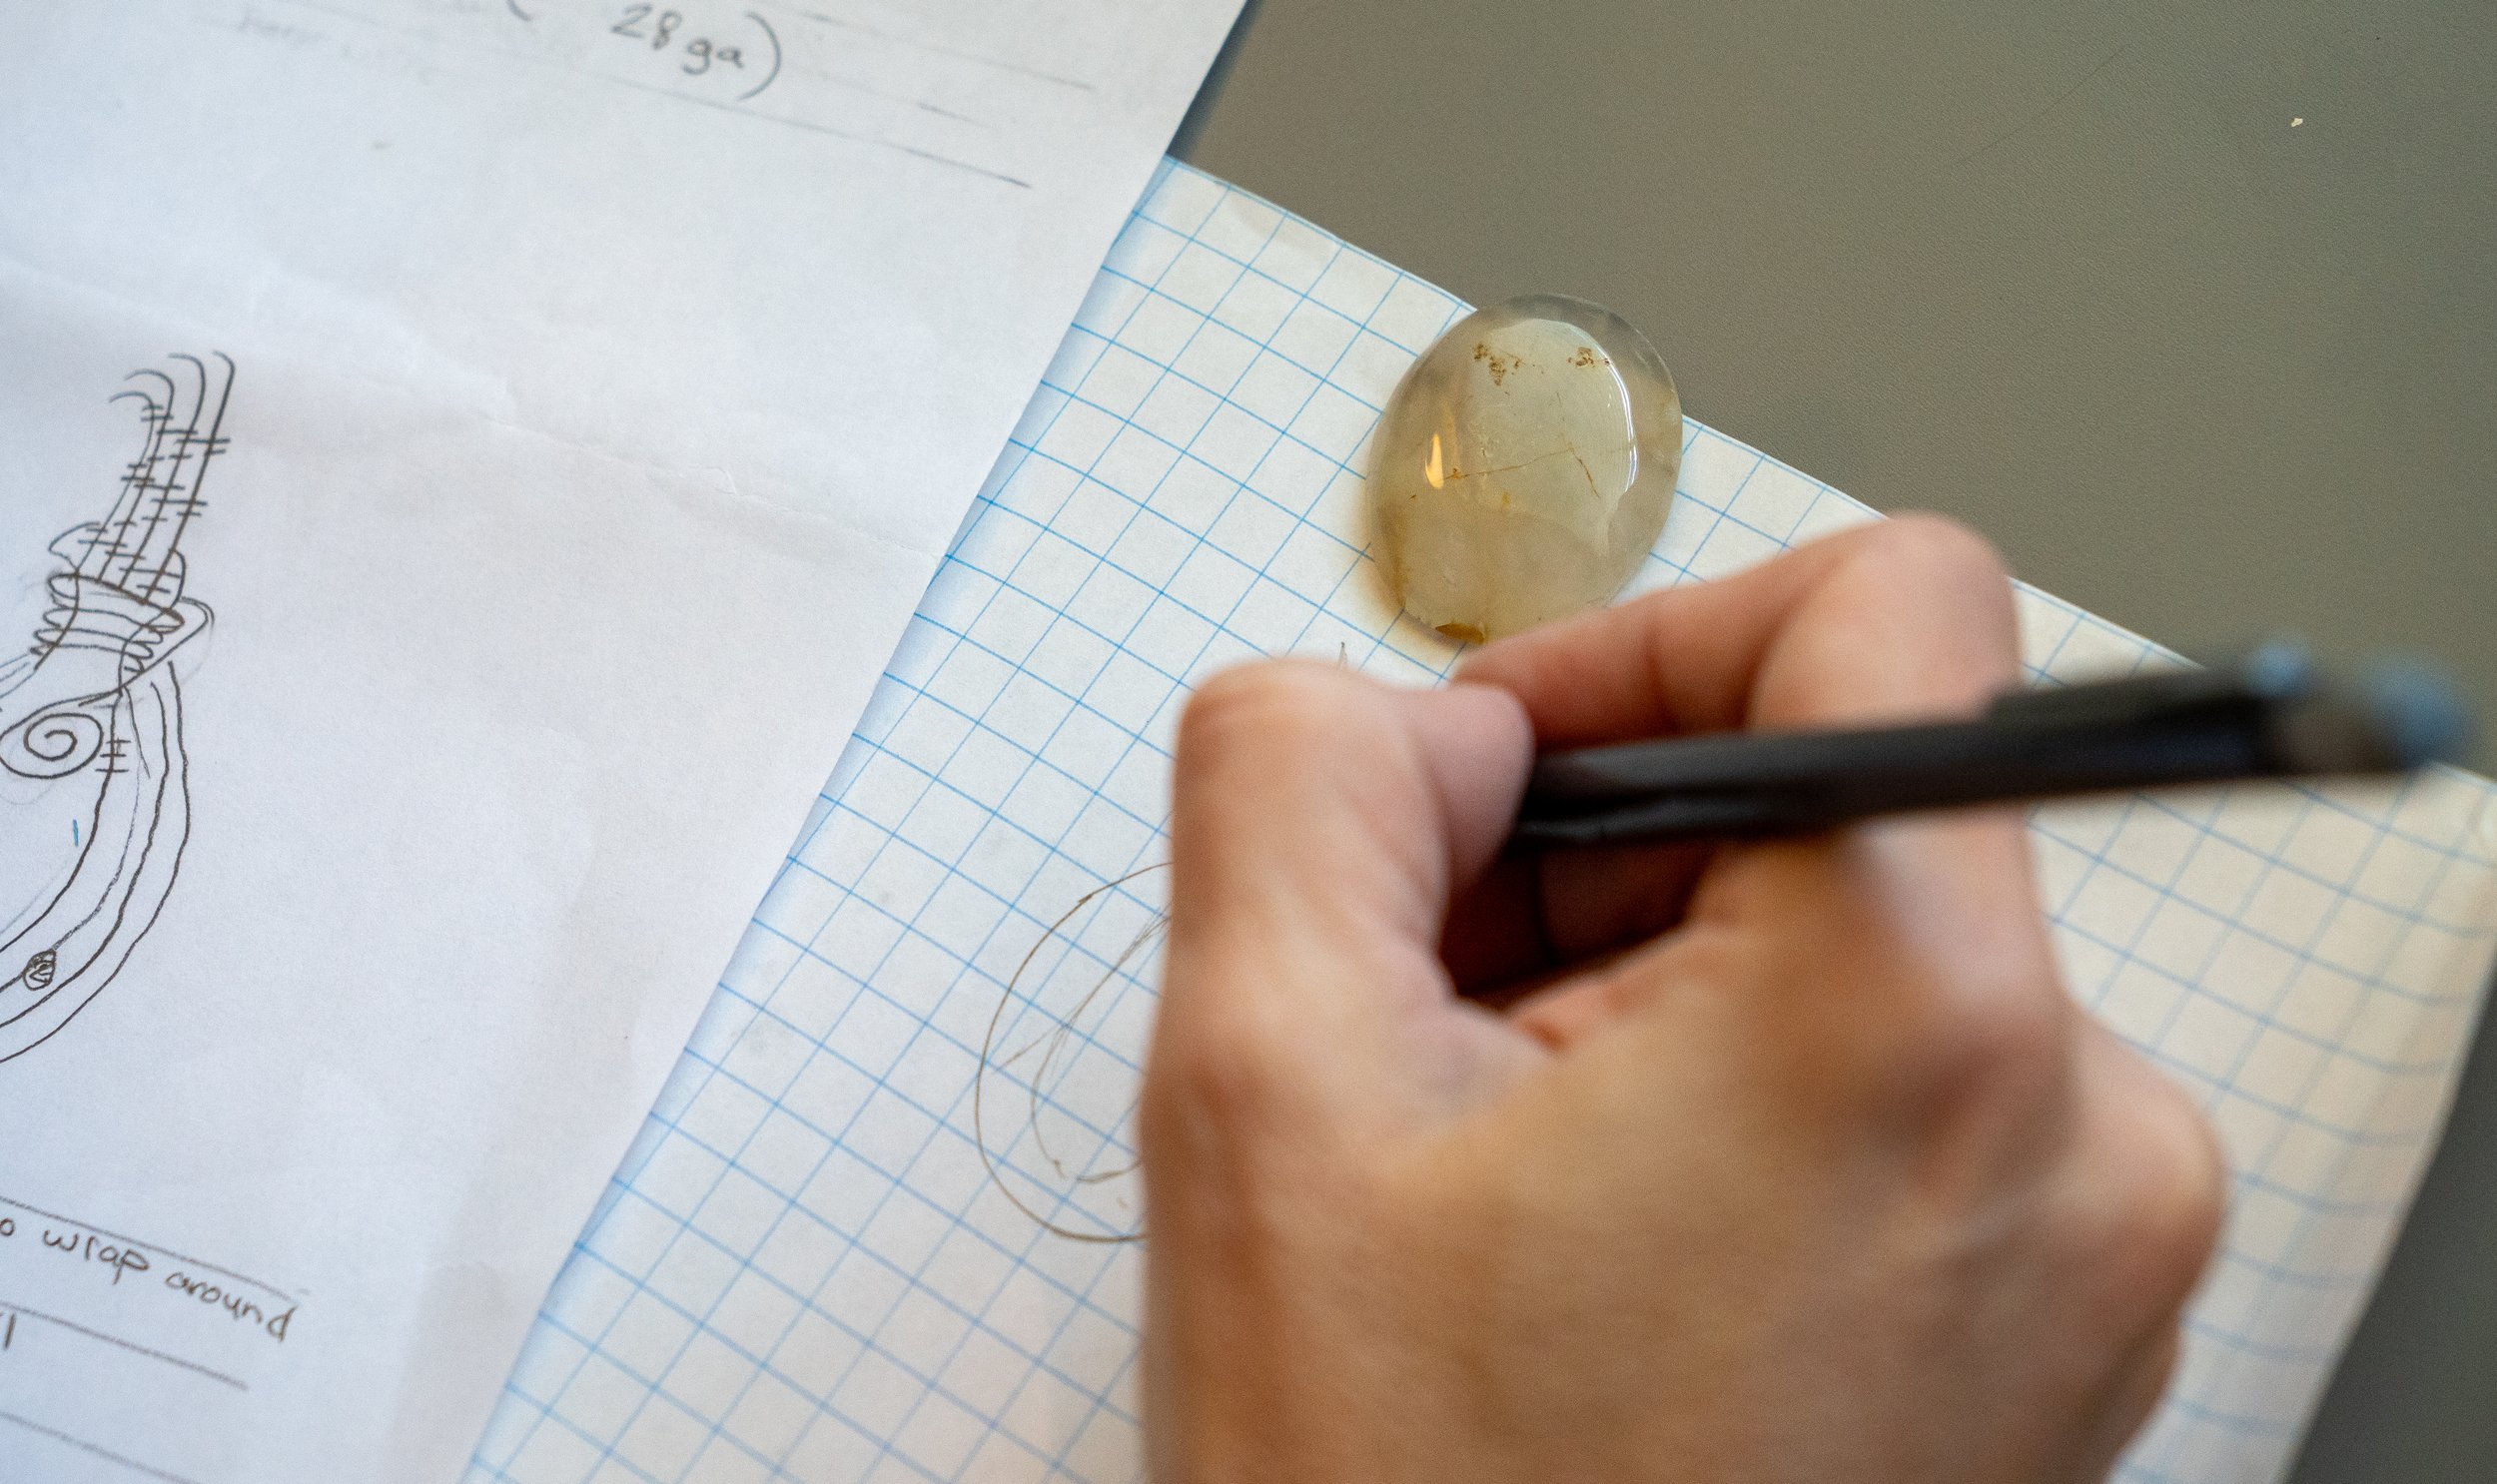
I then choose what type of wire to use. I would love to use sterling silver or gold on all my pieces but, unfortunately, the cost of these materials has become prohibitively expensive over the last few years. I still use some of these metals on occasion, but most of the wire I use is sterling silver-filled wire, gold-filled wire, pure copper, silver-plated wire or gold-plated wire. I have found that these materials are more affordable (allowing me to sell my jewelry for more reasonable prices), but still provide adequate quality and durability.
For cabochons with more detail, I like to use simpler designs that allow the uniqueness of the cabochon to be the focus. For cabochons with transparency, I try to leave the backside as open as possible, which allows light to shine through the stone and bring out specific details that might otherwise be hidden.
If I decide to create a metal setting for the stone, after selecting the type of metal, I trace the shape of the cabochon onto it. Subsequently, I trace or draw additional shapes for tabs to hold the stone, a spot for attaching the jump ring, and areas to allow light to pass through.
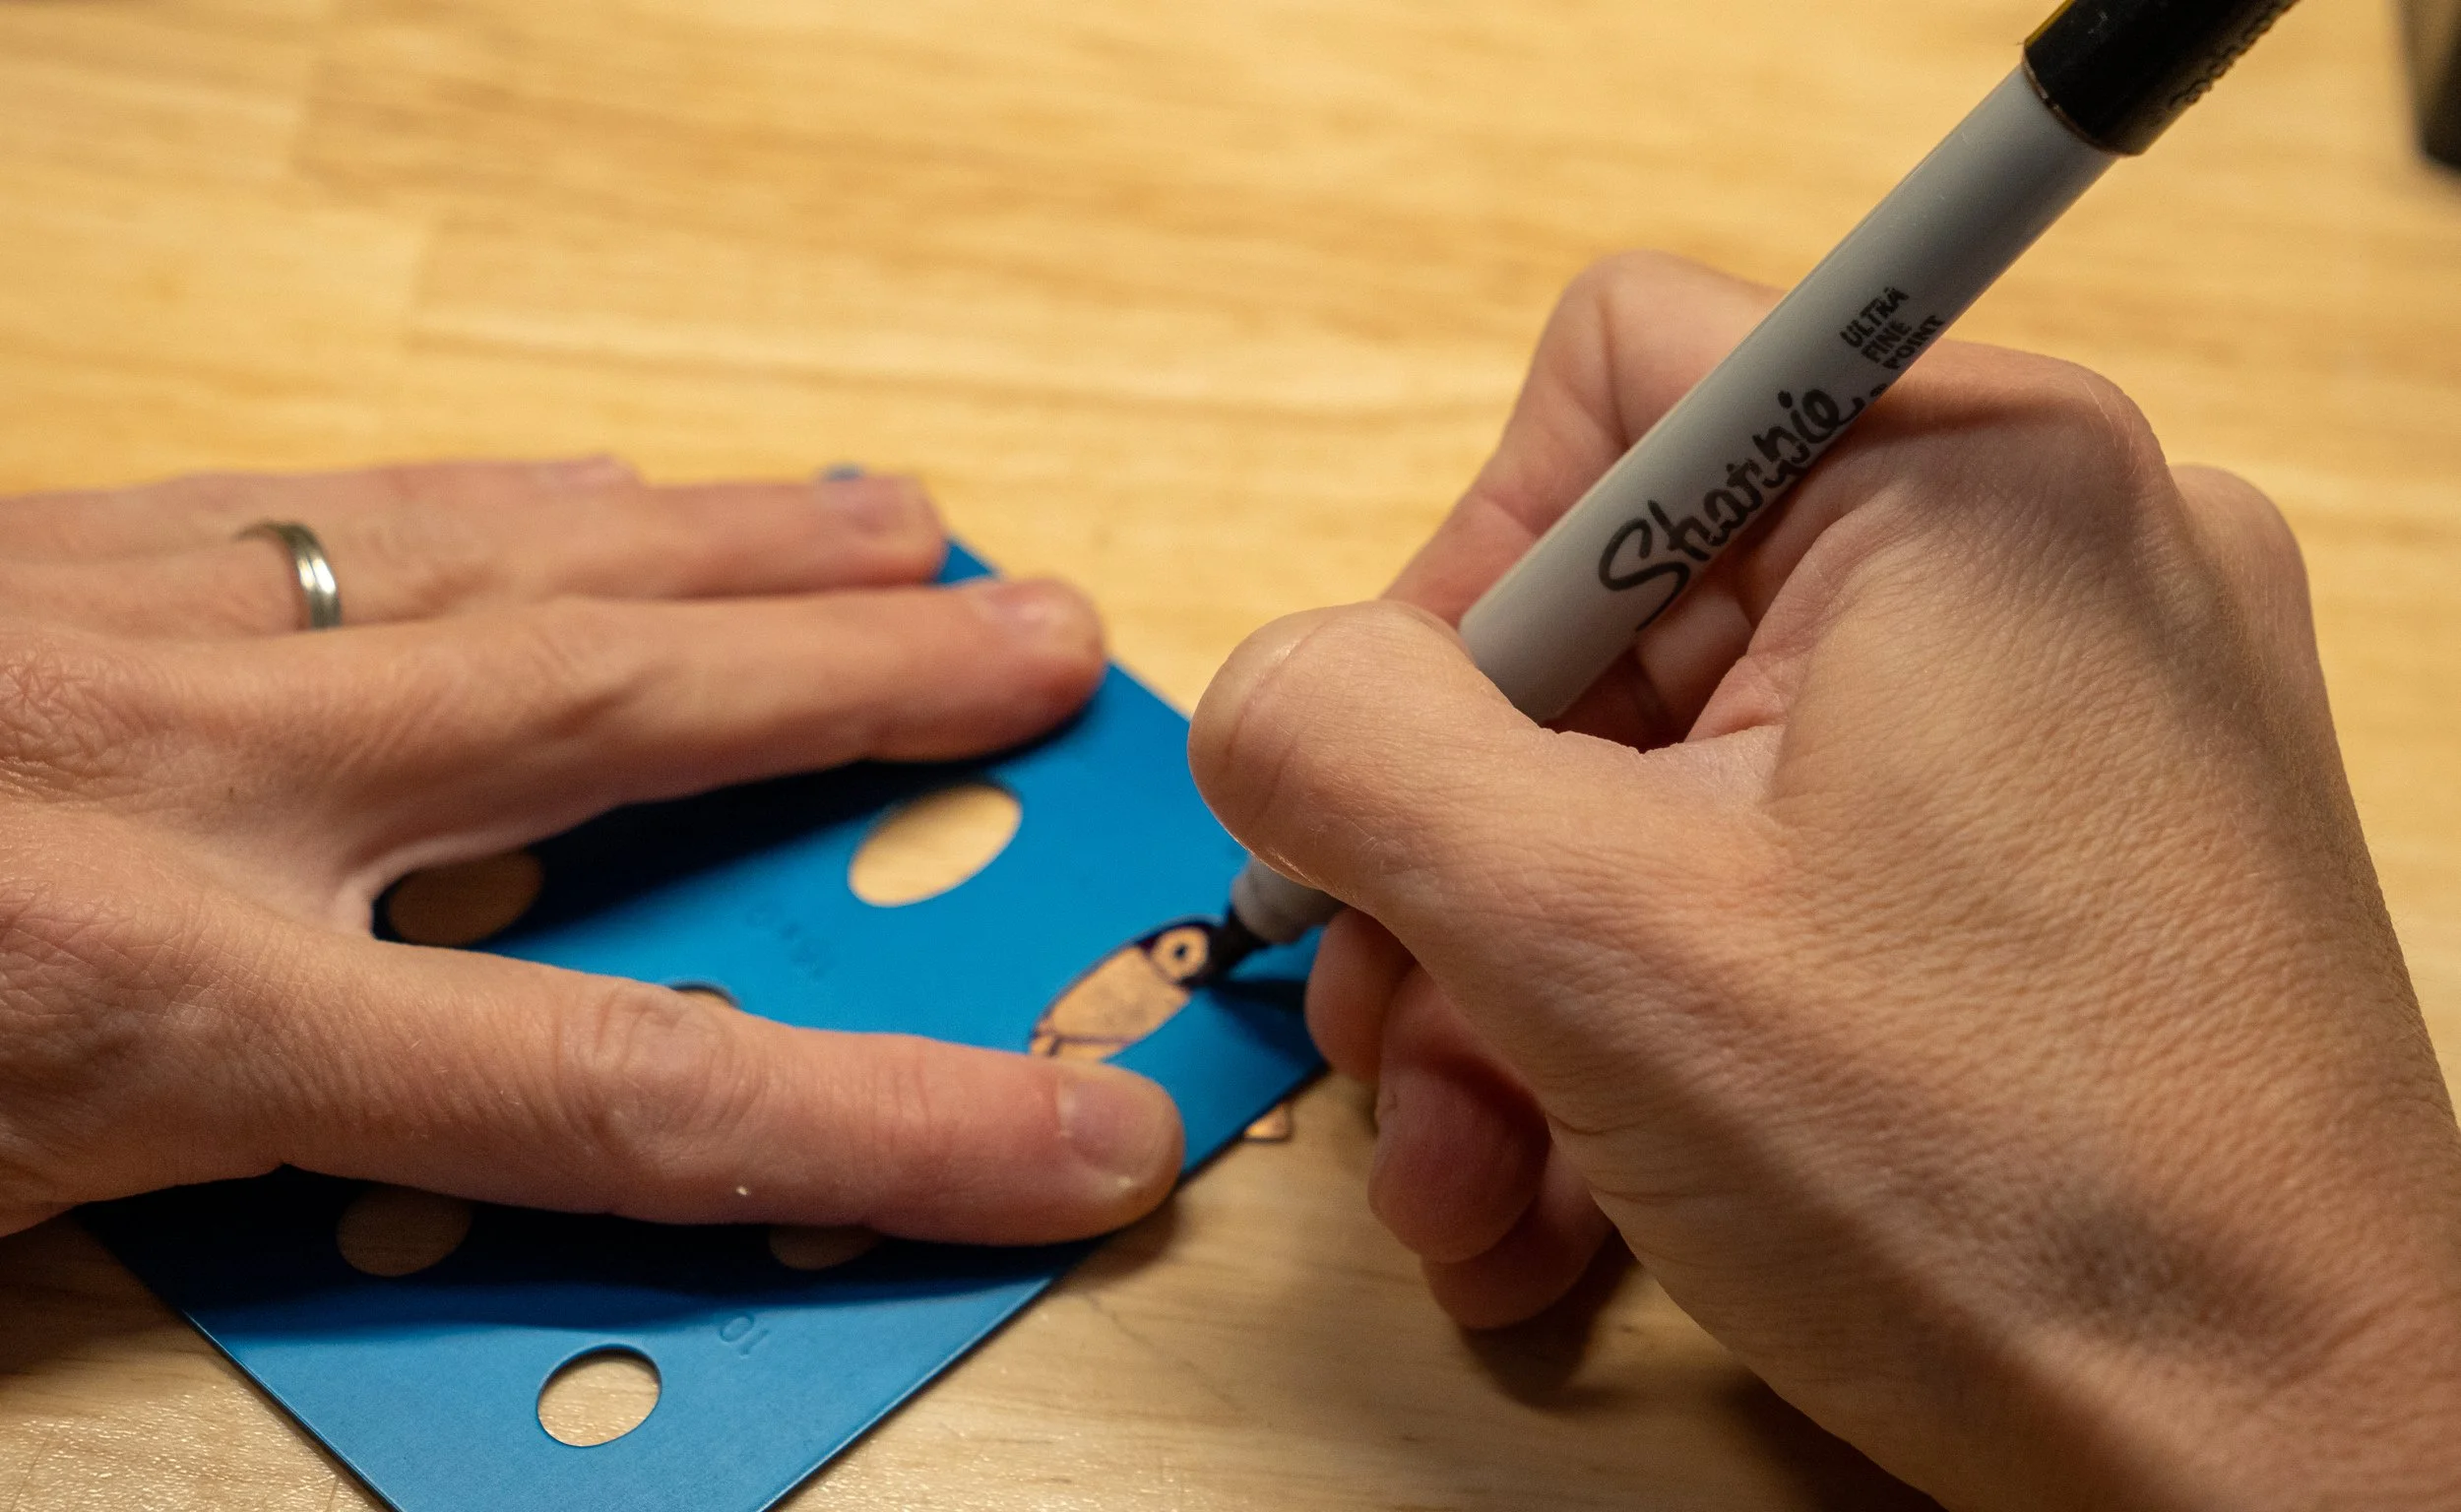
Once my design is complete, I proceed to create the actual piece.
Creating
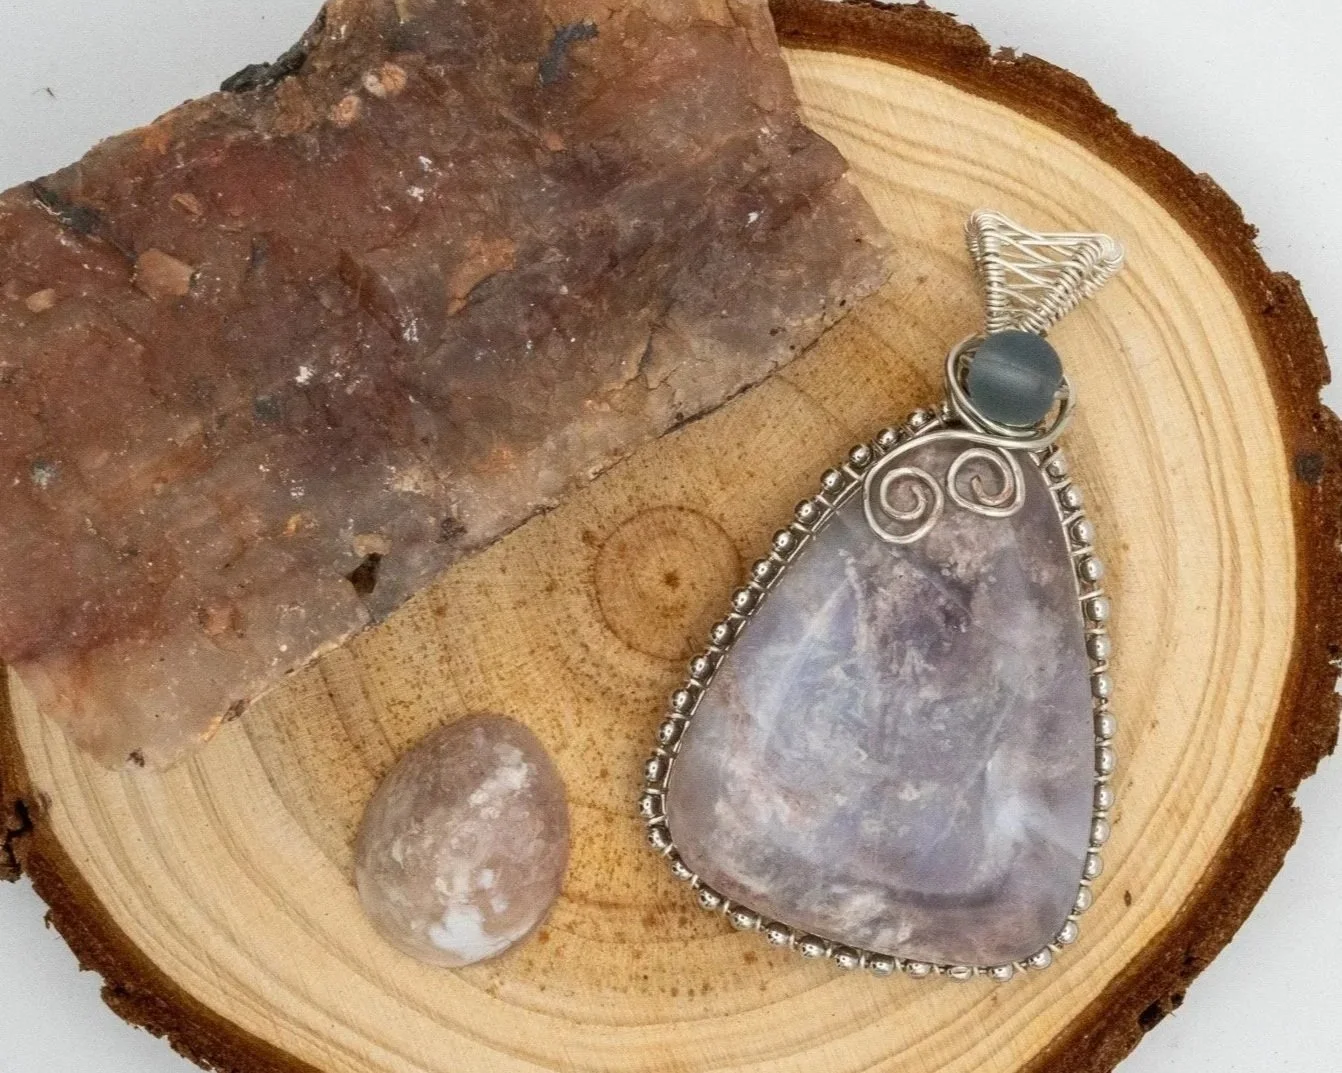
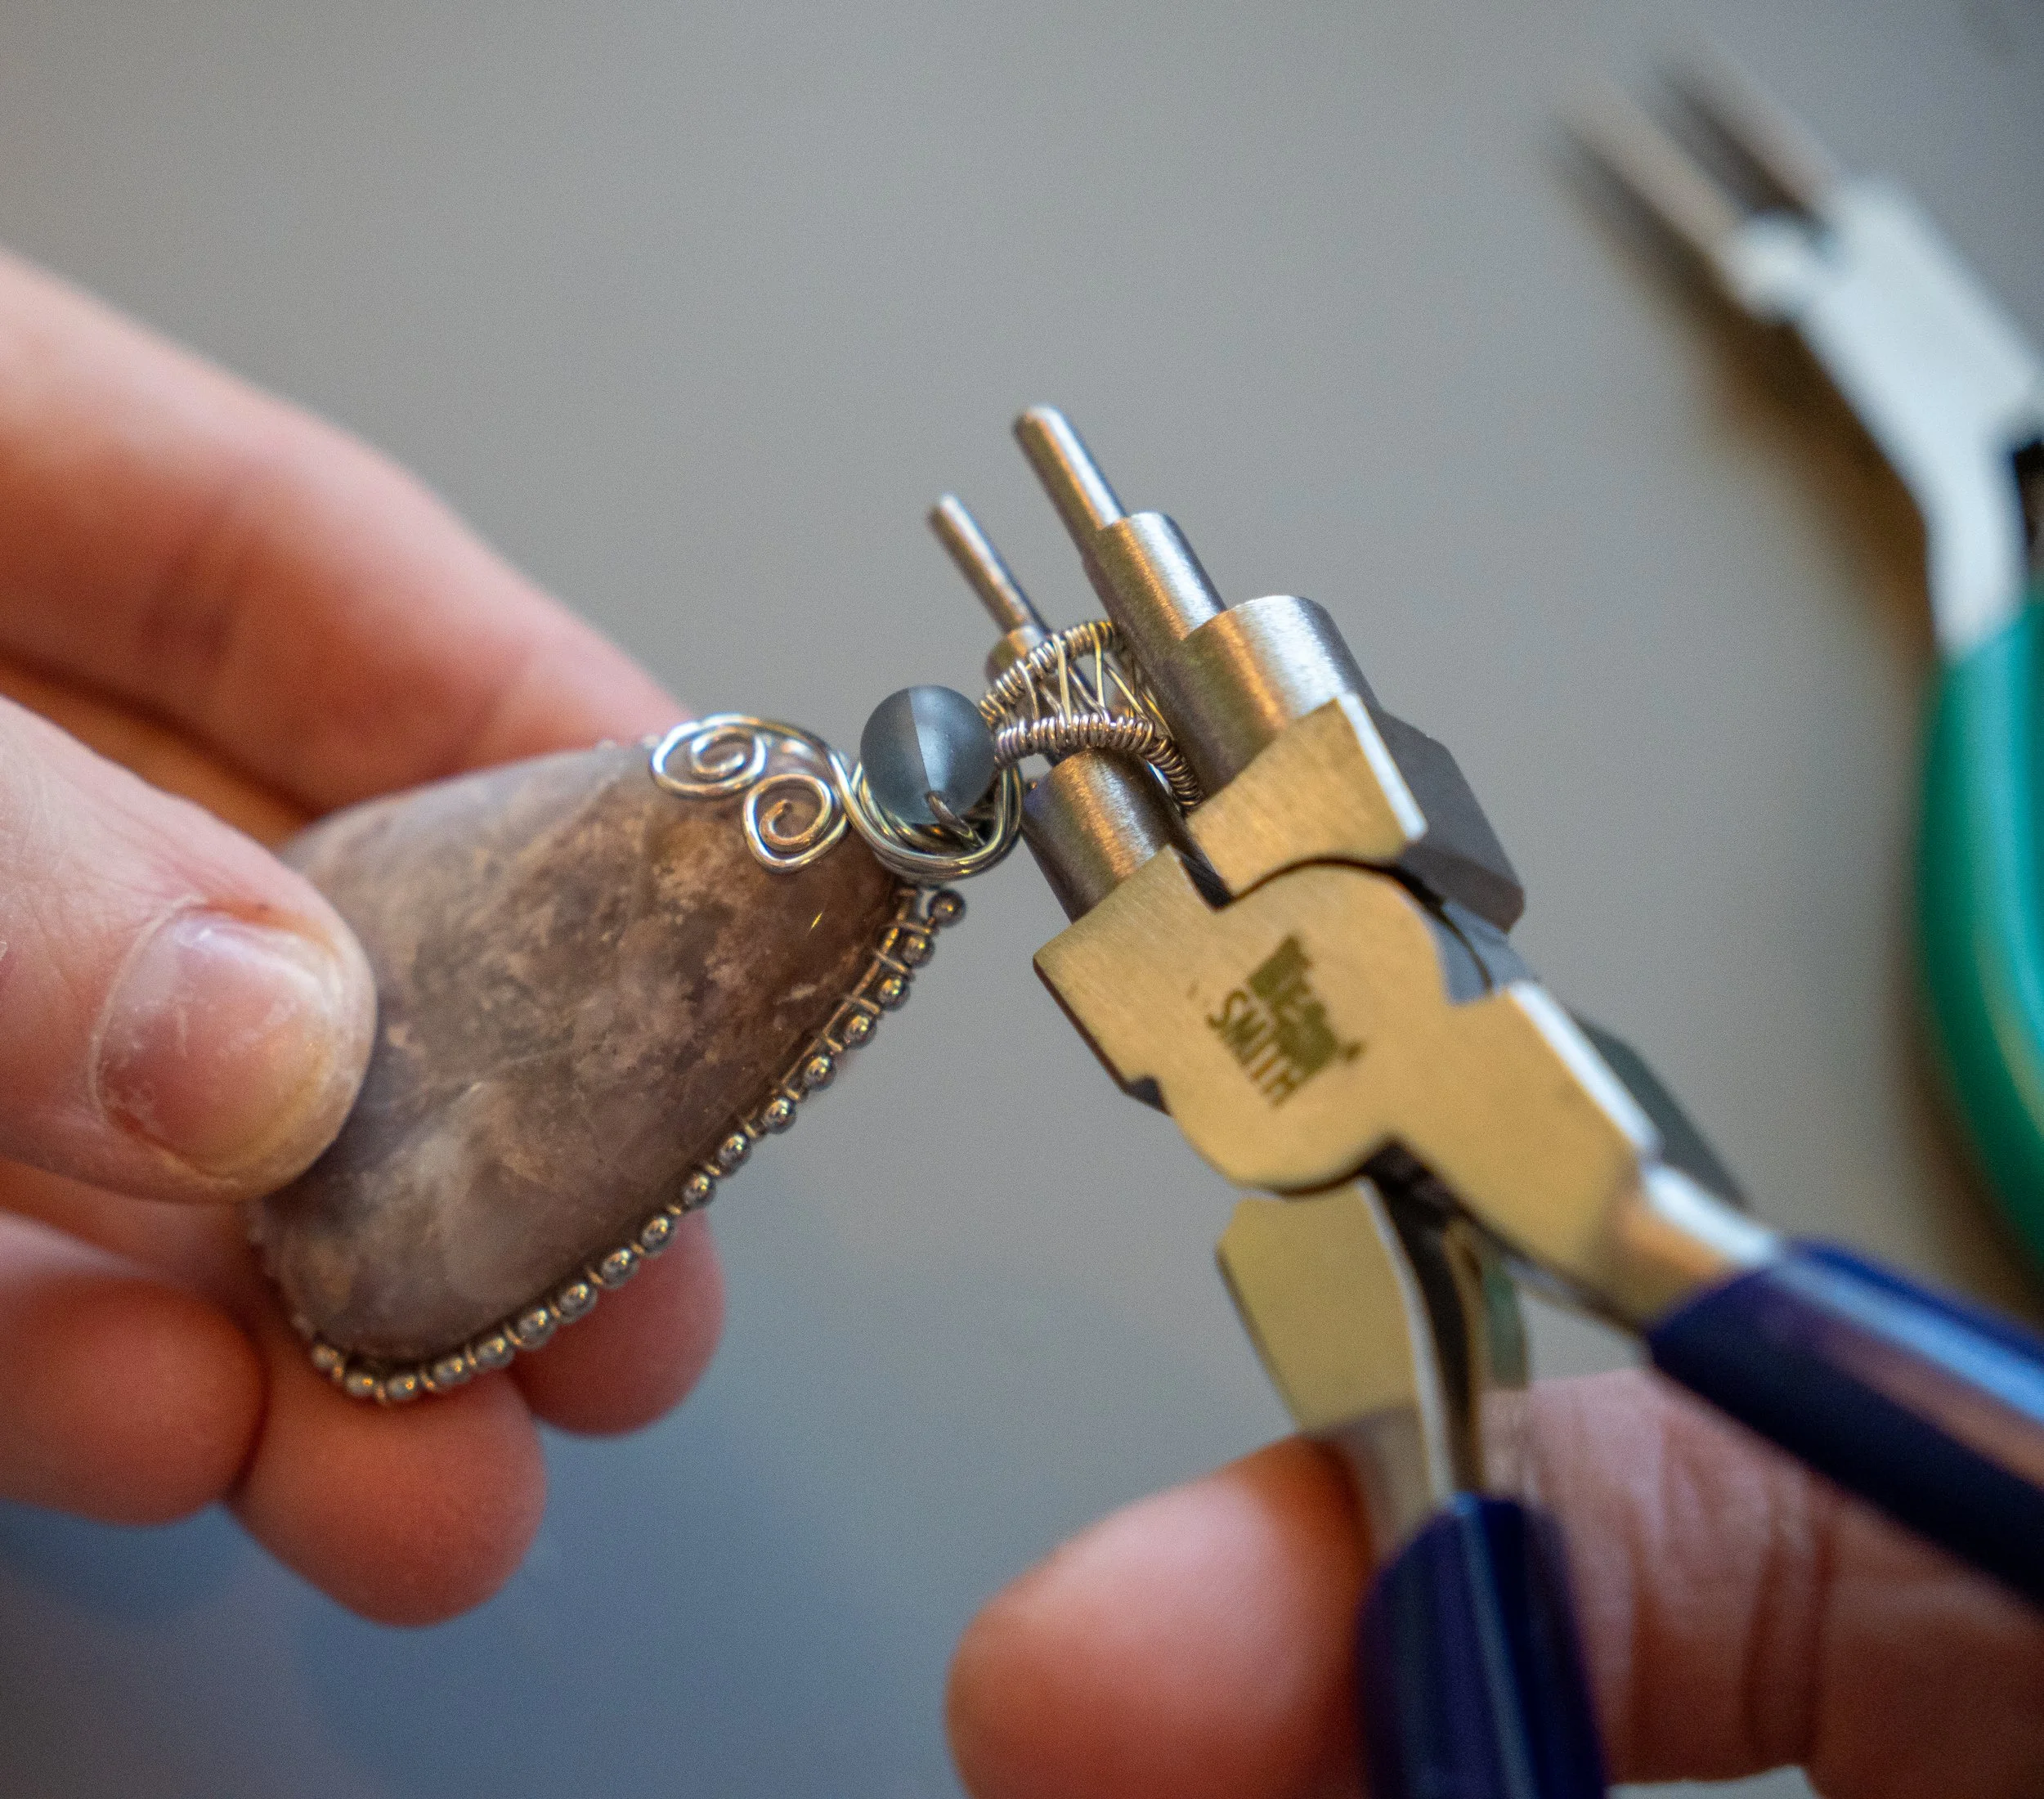
For wire wrapped pieces, I cut the lengths of wire that I will need, and begin bending it into the shape on my sketch. I then weave any wire patterns I have included in my design before connecting all the wire together to hold the stone in place. Once the stone is secure, I will create a bail where a chain can pass through. Then I will add beads or other design elements and make sure all of the wire ends are tightly tucked in.
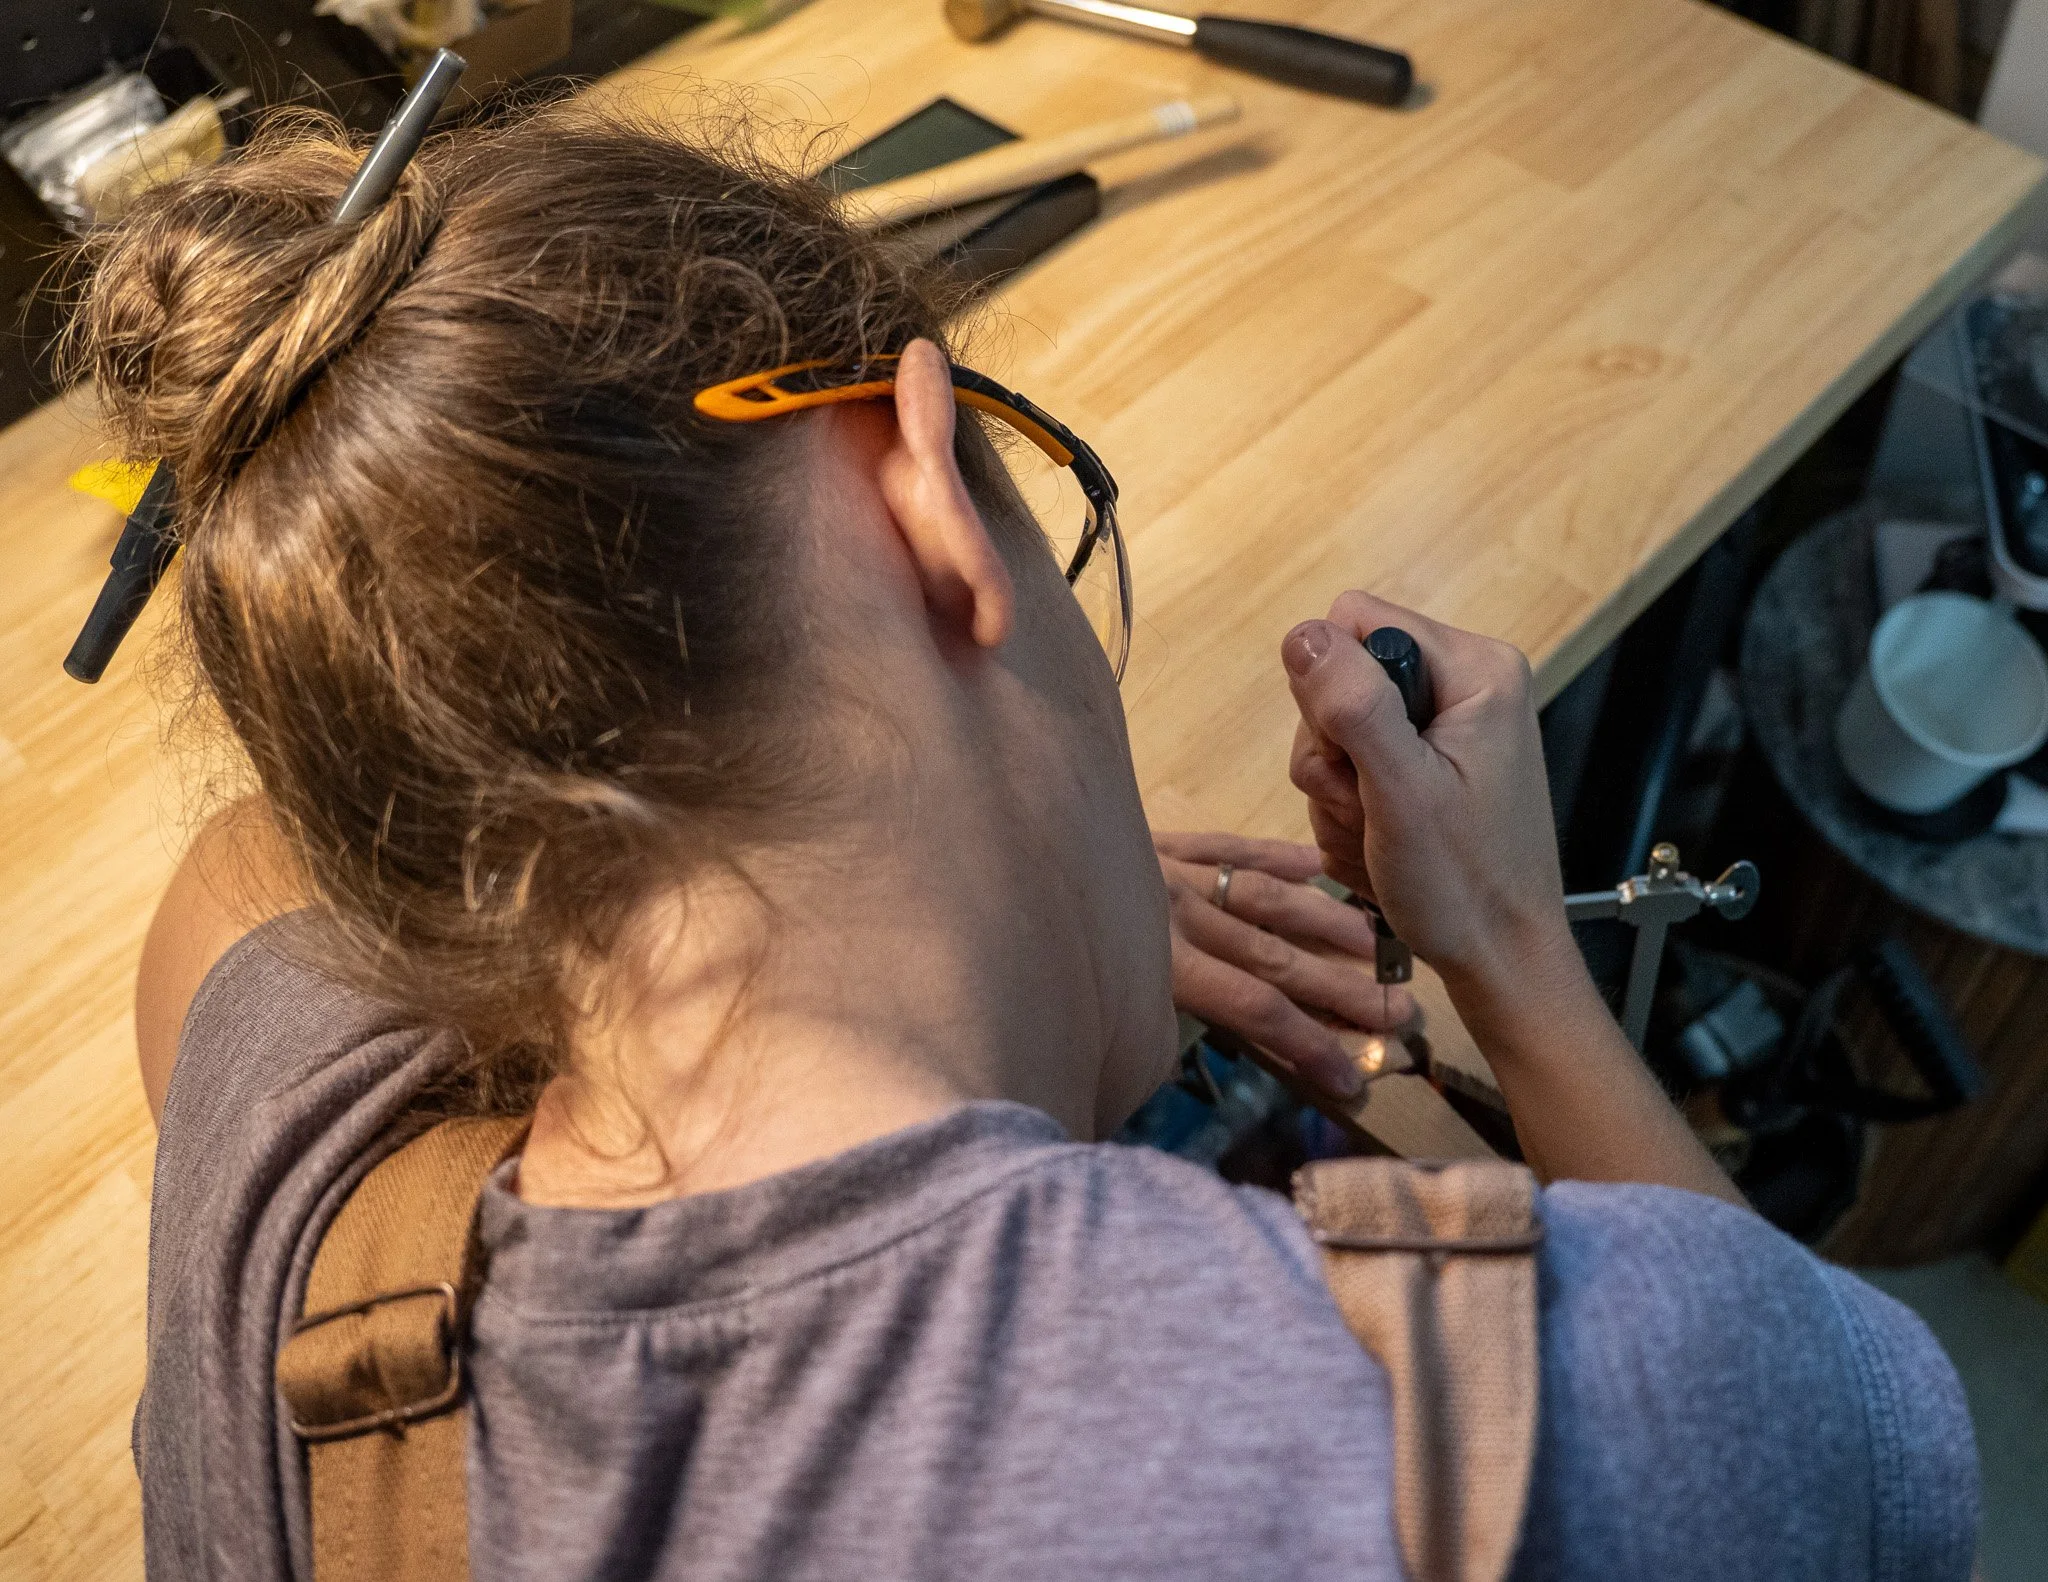
For metal setting pieces, I use a jewelers saw to cut out the pattern I previously marked on the metal. Once the metal has been cut out, I sand and polish the metal to take out any scratches caused in the process.
If I decide to oxidize the metal, I will dip it in liver sulfur and use wool fiber to create the coloring I want. Once I have the metal polished and the color that I want, I place the stone into the setting and bend the metal to secure the stone in place. If the stone does not feel completely secure, I remove the stone, add a few drops of glue to the inside of the metal, and then put the stone back in place. I then add a jump ring to the top of the setting.
Finishing
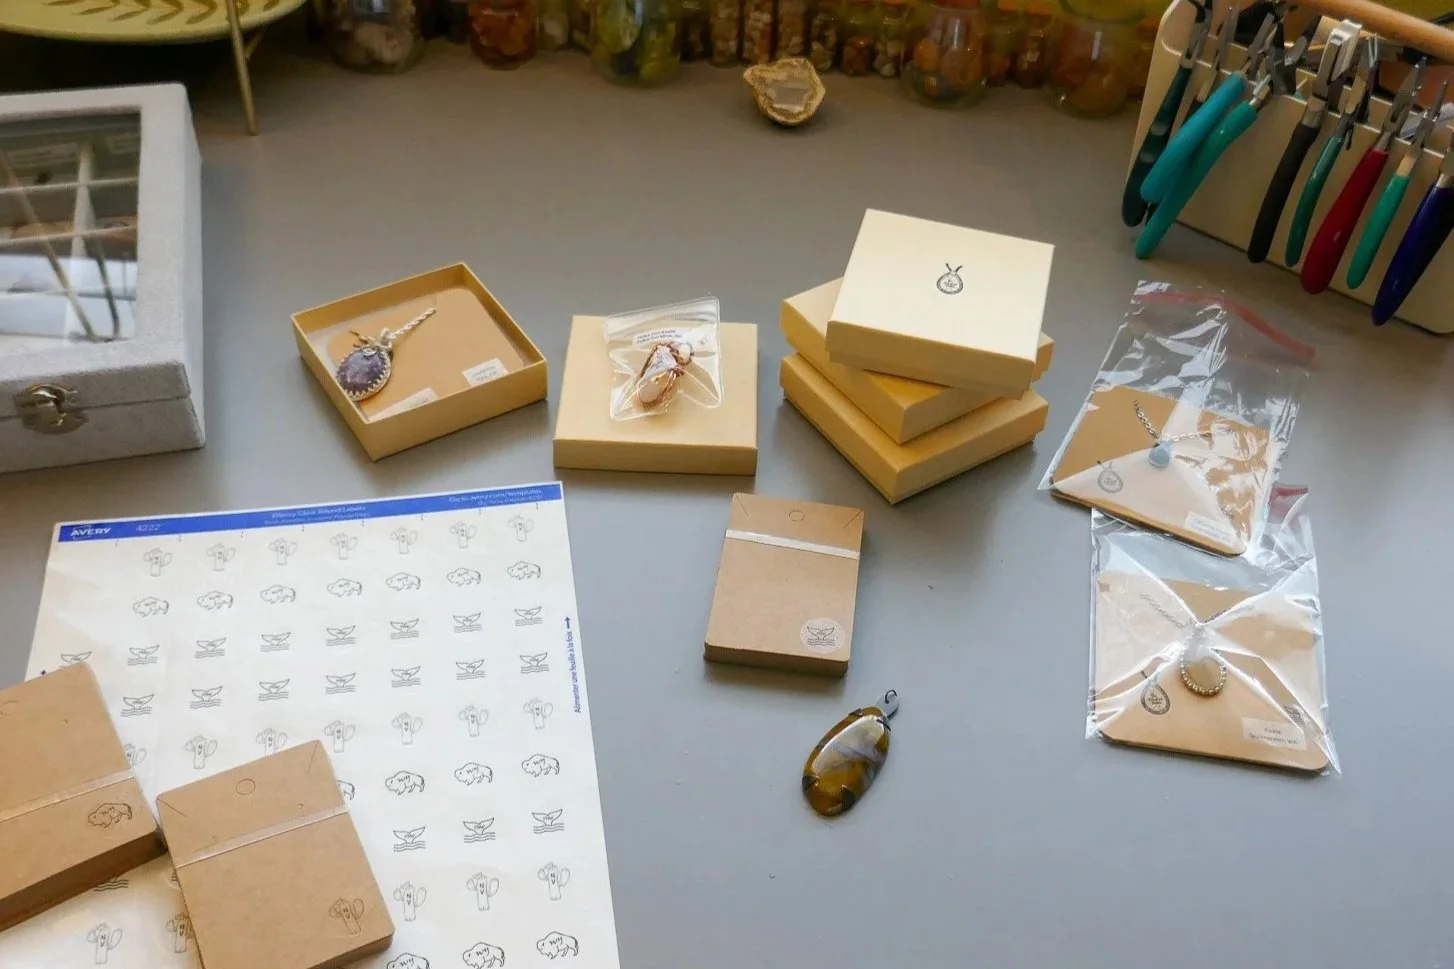
Once the piece is complete I photograph it to post online. Then I package the jewelry and add labels indicating the type of stone, where it was found, and the type of metal used. Lastly, I add the logo that I created to the packaging, and the piece is ready to be sold.
Once the piece is finished, I add a chain. For some of the pieces I use premade chains, and for others I use nylon or leather rope with custom made metal clasps.